Proper drainage in your ceramic containers is essential for healthy plants. You'll need drainage holes, a well-layered system, and the right materials to prevent waterlogged soil. Start with a 2-inch layer of coarse gravel at the bottom, add landscape fabric as a barrier, and use quality potting mix enriched with perlite or vermiculite. Don't forget to monitor drainage regularly and adjust your setup seasonally. Our extensive guide reveals expert techniques to perfect your container garden's drainage system.
Understanding Drainage Fundamentals in Ceramic Vessels
When growing plants in ceramic containers, understanding proper drainage is fundamental to their survival.
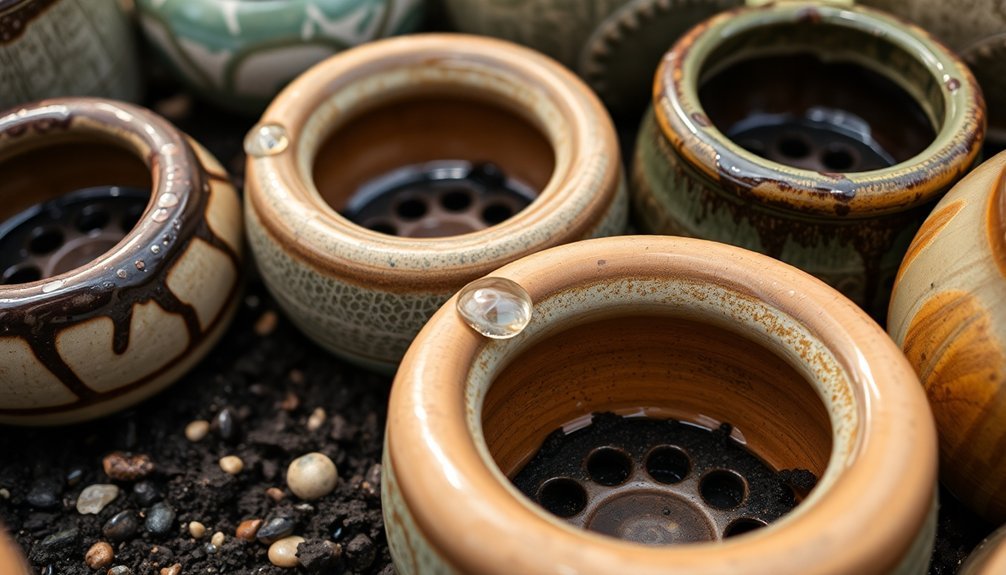
You'll need to guarantee your pots have adequate drainage holes to prevent excess water from creating waterlogged soil, which can severely damage your plants' root systems.
If you're using containers without drainage holes, you'll need to be extra vigilant about watering and monitor soil moisture carefully.
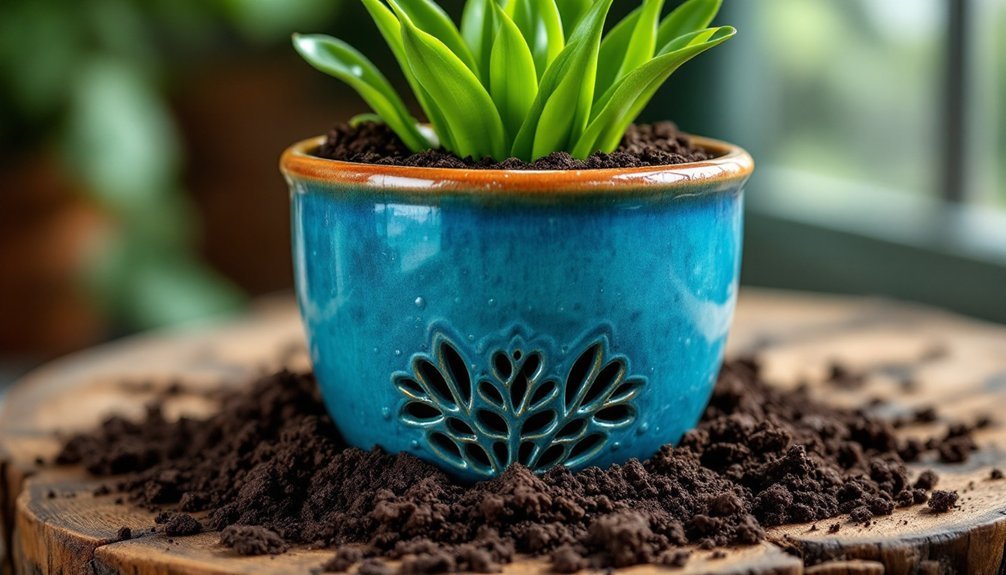
Unglazed ceramic pots naturally help wick away moisture, but you shouldn't rely on this feature alone.
To keep soil properly drained, add a layer of drainage materials like gravel or perlite at the bottom of your containers.
This creates a space for excess water to collect and helps maintain healthy air circulation around the roots, reducing the risk of root rot.
Optimal Drainage Materials for Ceramic Containers
When choosing drainage materials for your ceramic containers, you'll find both natural options like perlite and vermiculite, as well as synthetic alternatives such as Styrofoam peanuts that can effectively manage water flow.
The weight of your container matters greatly, so lighter materials near the top and heavier materials at the base will provide ideal stability while maintaining proper drainage.
You can maximize water flow by strategically layering these materials, starting with coarse elements at the bottom and gradually shifting to finer materials as you move upward through the pot.
Natural Vs Synthetic Options
Should you choose natural or synthetic materials for your ceramic container's drainage needs? Both options offer unique benefits for your container gardening success.
Natural materials like perlite and gravel work as effective soil amendments, improving drainage while maintaining your ceramic pots' organic appeal.
Consider these key factors when selecting drainage materials:
- Natural options like gravel and coarse sand prevent soil compaction while enhancing water flow.
- Synthetic materials such as packing peanuts reduce container weight considerably.
- Terra cotta pieces provide both drainage and aesthetic value.
- Coffee filters or landscape fabric prevent soil loss when used with either option.
Mix and match these materials based on your specific needs. For instance, combine perlite with synthetic options to create a lightweight, well-draining environment that's perfect for your plants.
Weight and Stability Factors
Beyond choosing natural or synthetic materials, the weight and stability of your drainage solution directly impact your ceramic container's performance and manageability.
When selecting drainage in pots, you'll need to balance effectiveness with practicality. For ideal stability, consider using a mix of lightweight and heavier materials. You can layer coarse gravel or broken terra cotta pieces at the bottom to create a solid foundation, while incorporating lighter materials like perlite in upper layers.
This combination prevents soil washout while maintaining manageability. A 1:1 ratio of potting soil to drainage material offers the best results. If you're concerned about weight, opt for lightweight alternatives like packing peanuts, which provide excellent drainage without compromising stability.
Remember that your container's location and intended mobility should guide your material choices.
Layering for Maximum Flow
Creating ideal drainage flow in ceramic containers requires strategic layering of specific materials. At the bottom of your containers, you'll want to use extremely porous materials that allow water to flow freely while preventing soil saturation.
To improve drainage and maintain healthy potting mix conditions, consider these effective layering options:
- Add a 2-6mm layer of coarse gravel or small pebbles as your foundation.
- Use lightweight packing peanuts or broken terra cotta pieces to reduce container weight.
- Incorporate natural elements like pine cones or acorns for eco-friendly drainage.
- Top with your chosen potting mix for best plant growth.
Avoid using sedimentary rocks or materials that break down quickly, as they'll compact over time and restrict water movement.
This strategic layering approach guarantees proper drainage while maintaining your container's stability and plant health.
Professional Techniques for Layer Construction
When building your container's drainage system, start with a 1-2 inch layer of coarse gravel or pebbles, ensuring uniform distribution across the bottom.
You'll want to place a single layer of landscape fabric or coffee filters directly on top of the gravel, leaving no gaps that could allow soil seepage.
Top these foundational layers with your soil mixture, maintaining at least 6 inches of depth for proper root development while keeping the total height of all layers about an inch below the container's rim.
Bottom Layer Material Selection
Professional container gardening relies heavily on proper bottom layer construction to guarantee excellent drainage. To improve drainage in plant pots, you'll need to select materials that prevent soil compaction while allowing excess water to escape.
Mix your potting soil with drainage materials in a 1:1 ratio, using gravel between 2-6mm for best results.
Here's what you'll need for successful container plants:
- Gravel or perlite as your primary drainage material
- Landscape fabric to prevent soil from washing into the bottom layer
- Natural materials like pine cones or river rocks for an eco-friendly approach
- A proper soil-to-drainage material ratio (1:1)
Remember to avoid using sand in your bottom layer, as it compacts over time and can actually hinder drainage.
Instead, opt for materials that maintain their structure and promote healthy root development.
Spacing Between Drainage Layers
Building on the proper selection of drainage materials, the next step involves mastering the spacing between layers in your ceramic containers.
You'll need to create a drainage layer that's 2-4 inches deep, adjusting the depth based on your container's size to guarantee proper water flow and prevent root rot.
Place a barrier of landscape fabric or coffee filters between your drainage material and soil to maintain distinct layers while allowing water to pass through. This separation is essential for soil aeration and prevents soil particles from clogging the drainage space.
For best results, consider using a mix of materials like gravel and clay balls to enhance airflow throughout the layers.
Monitor your container's drainage performance regularly, and don't hesitate to adjust the spacing if you notice water pooling or poor soil drainage.
Optimal Layer Thickness Guide
Three key principles govern ideal drainage layer thickness in ceramic containers.
When you're constructing drainage layers, you'll need to balance water flow, soil volume, and root growth requirements to create an effective system.
Follow these essential measurements for superior results:
- Start with a 1-2 inch layer of gravel or pebbles for standard ceramic containers.
- Increase to 3 inches for larger containers to handle higher water volumes.
- Keep drainage materials between 2-6mm in size to prevent soil clogging.
- Limit drainage layer to 25% of total pot depth to maximize growing space.
For enhanced efficiency, consider adding a coarse sand layer above your gravel base.
This combination helps reduce the perched water table while maintaining proper soil aeration in your container garden.
Managing Water Flow in Different Pot Sizes
When selecting drainage solutions for ceramic containers, understanding how pot size affects water flow is essential to preventing root rot and maintaining healthy plants.
You'll need to adjust your drainage strategy based on your pot's diameter to guarantee ideal growing conditions.
For containers under 8 inches, mix your potting soil with gravel in equal parts to create proper drainage.
If you're working with pots larger than 12 inches, incorporate perlite or vermiculite into your soil mix to prevent water retention.
For containers exceeding 16 inches, use broken pottery pieces or landscape fabric to create effective drainage layers.
Consider adding coarse gravel or packing peanuts at the bottom of shallow containers to combat waterlogging.
This approach helps excess water escape while keeping your plants' root systems healthy.
Seasonal Adjustments for Drainage Systems
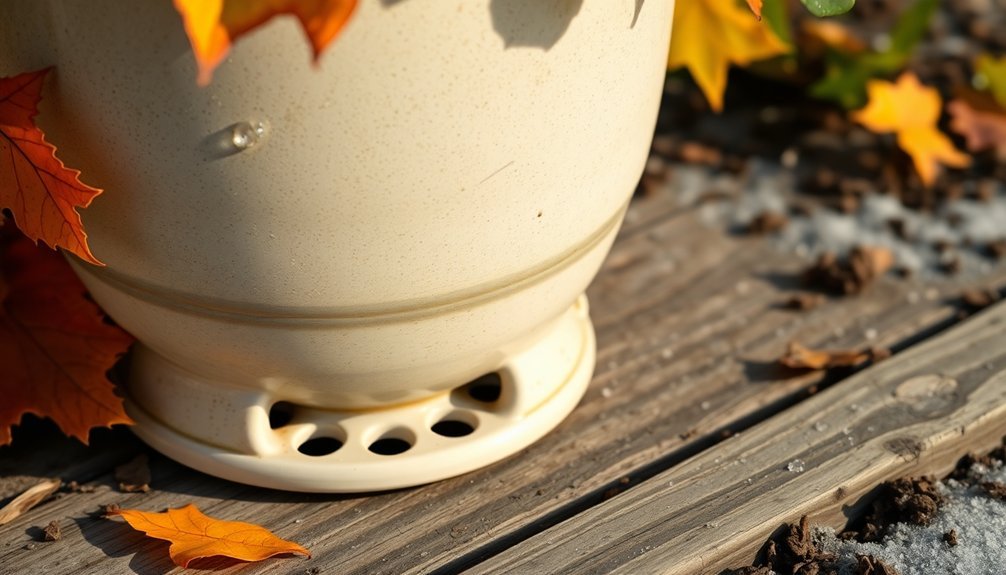
As seasons shift throughout the year, you'll need to modify your ceramic container drainage systems to maintain ideal growing conditions. The key is adapting your approach to prevent waterlogging in ceramic containers and protect against root rot as weather patterns change.
- During winter, insulate your drainage systems to prevent water from freezing in pipes and containers, which helps maintain proper moisture retention.
- In summer months, monitor drainage more frequently due to increased evaporation rates.
- When heavy rains arrive, elevate your containers or place them on gravel beds to increase drainage effectiveness.
- Switch your drainage materials seasonally – use materials that retain more moisture in winter while promoting better water flow in summer.
Don't forget to regularly clear drainage holes of debris, especially after significant seasonal changes, to guarantee consistent water flow.
Signs and Solutions for Poor Container Drainage
Identifying poor drainage in ceramic containers requires vigilant observation of key warning signs. When you notice yellowing leaves, stunted growth, or waterlogged soil, your plants are likely suffering from drainage issues.
Watch for water that doesn't drain within 15 minutes after watering – this indicates compacted potting mixes or inadequate drainage.
To improve drainage in your ceramic containers, make sure they've proper drainage holes. You'll want to enhance aeration by incorporating materials like perlite, coarse sand, or gravel into your potting mix.
If your containers lack drainage holes, avoid letting water collect in cachepots. Keep an eye on soil composition, as dense or compacted mixes can severely restrict water flow.
Frequently Asked Questions
How Do You Improve Drainage in Ceramic Pots?
You'll improve drainage by adding holes at the pot's bottom, placing a layer of gravel or perlite underneath soil, and using a 1:1 soil-to-gravel ratio. Monitor for overwatering signs and adjust watering accordingly.
What Is the Best Thing to Put in the Bottom of Pots for Drainage?
You'll get the best drainage by using perlite in the bottom of your pots. It's lightweight, highly porous, and won't decompose. Layer it with gravel or broken pottery for ideal results.
How Can You Ensure Your Containers Have Proper Drainage?
You'll need drainage holes, a layer of gravel or broken pottery, and well-draining potting mix. Don't forget to monitor soil moisture, empty excess water, and check regularly for signs of poor drainage.
Do Ceramic Pots Need Drainage Holes?
Yes, you'll want drainage holes in your ceramic pots for ideal plant health. Without them, you're risking root rot and fungal growth. If your pot lacks holes, you'll need extra care with watering.
In Summary
Now you've got all the tools to create perfect drainage for your ceramic containers. Remember to adjust your drainage layers seasonally, monitor your plants for signs of water stress, and don't hesitate to repot if you notice persistent drainage issues. With proper materials and layering techniques, you'll prevent root rot and guarantee your container plants thrive year-round. Keep these solutions handy, and you'll master container drainage in no time.


Leave a Reply