
You'll need three key elements for a perfect cachepot drainage setup: a decorative outer pot, an inner grow pot with drainage holes, and a 1-2 inch layer of pebbles or hydrogranules at the bottom. Choose a cachepot that's 2-3 inches larger than your grow pot to guarantee proper airflow and easy monitoring. Elevate the grow pot using the drainage material, and regularly check for water accumulation. Following these fundamentals will reveal the secrets to healthy, thriving plants.
Understanding the Anatomy of an Effective Cachepot System
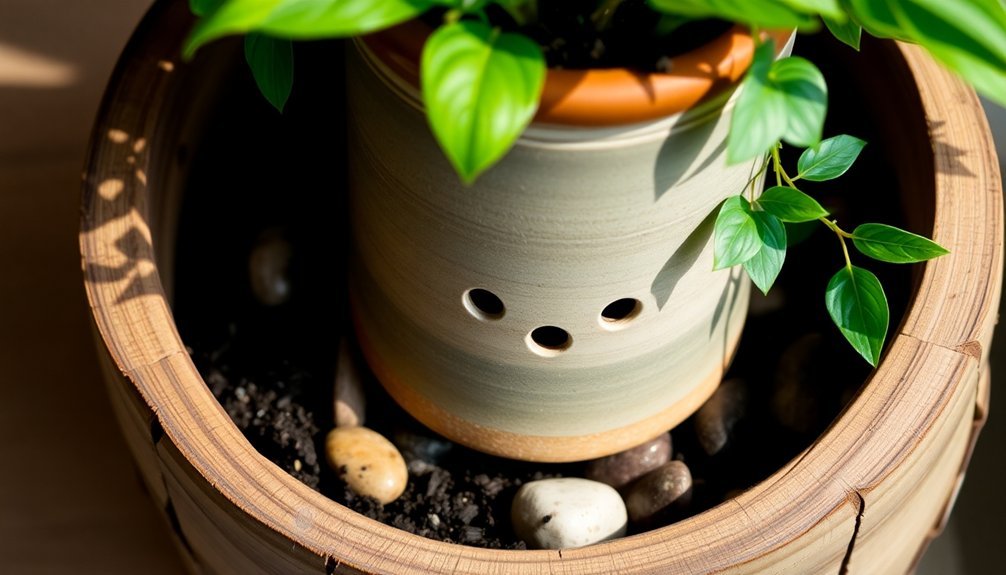
While many plant enthusiasts focus on pot aesthetics, understanding the components of a cachepot system is essential for your plant's health. The setup consists of two key elements: a decorative outer cachepot and an inner grow pot with at least one drainage hole.
You'll want to select a grow pot that's slightly smaller than your cachepot, ensuring proper airflow while maintaining a snug fit.
To prevent excess water from causing root problems, place a layer of pebbles or hydrogranules at the bottom of your cachepot. This elevates the grow pot and creates a space for water to collect without touching the soil.
Remember to check for standing water by removing the grow pot regularly during watering. This simple two-pot system combines style with functionality while protecting your plants from water-related issues.
Selecting the Right Size and Material Combination
When choosing your cachepot, you'll need a container at least 2-3 inches taller and slightly wider than your grow pot to guarantee proper functionality.
Your material combination should pair a well-draining grow pot with a weather-resistant cachepot made of ceramic or plastic, creating an effective system that prevents moisture buildup.
Add a 1-2 inch layer of pebbles or hydro granules at the base of your cachepot to maintain proper drainage while keeping your plant stable and elevated.
Proper Size Ratio Matters
To guarantee ideal drainage in your cachepot setup, selecting the right size ratio and material combination is essential.
You'll want to verify there's 1-2 inches of space between your grow pot and cachepot to promote proper airflow and prevent moisture from getting trapped against the sides.
Choose breathable options like terracotta or ceramic for your cachepot, as they'll help moisture evaporate more effectively than plastic alternatives.
When it comes to drainage holes, smaller pots up to 6 inches need just one hole, while larger containers require three or more for maximum drainage.
To enhance your setup, consider placing lightweight materials like packing peanuts or hydrogranules at the bottom of your cachepot. This will elevate the grow pot, improve drainage efficiency, and keep the overall weight manageable.
Materials That Work Together
Selecting compatible materials for your cachepot system comes down to three vital elements – the grow pot, cachepot, and drainage layer.
You'll want to choose breathable materials like terracotta or ceramic for your cachepot, as they help prevent excess moisture from building up and causing root rot.
Create an effective drainage layer at the bottom of your cachepot using pebbles or packing peanuts. This provides essential stability for your grow pot while guaranteeing proper water flow.
Don't forget to add a pot liner between the cachepot and grow pot – it'll protect against moisture damage while making plant maintenance easier.
When combining these materials, make certain they work in harmony: your grow pot should sit comfortably within the cachepot, allowing water to drain freely through the layers you've created.
Drainage Layer Measurements
Three key measurements guarantee a perfect drainage layer setup in your cachepot system.
You'll want 1-2 inches of drainage material depth, no more than one-third of your container's total height for the drainage layer, and for pots over 12 inches wide, you'll need multiple material layers.
- Layer larger stones at the bottom for primary water flow
- Add smaller gravel or perlite as a secondary filter
- Keep soil separate from drainage materials to prevent clogging
- Leave ample space above for healthy plant roots
Your drainage setup's success depends on these precise measurements.
Monitor the layers regularly to maintain proper water flow and prevent compaction.
For ideal results, adjust your drainage layer depth based on your container size, ensuring you've got enough room for both proper drainage and soil while maximizing space for root growth.
Essential Components for Proper Water Management
When setting up a cachepot drainage system, you'll need several key components to guarantee proper water management. Start with a grow pot with drainage holes that fits comfortably inside your decorative cachepot.
Create a drainage layer at the bottom of the cachepot using pebbles or hydrogranules, which will help excess water flow away from your plant's roots.
Don't forget to include a pot liner to protect your cachepot from water damage while making it easier to monitor moisture levels. You'll need to check these levels regularly by lifting the grow pot out of the cachepot.
Remember to empty any standing water that collects in the cachepot base to prevent overwatering issues. Following these proper watering practices will help maintain healthy root systems and prevent rot.
Layering Techniques for Optimal Drainage
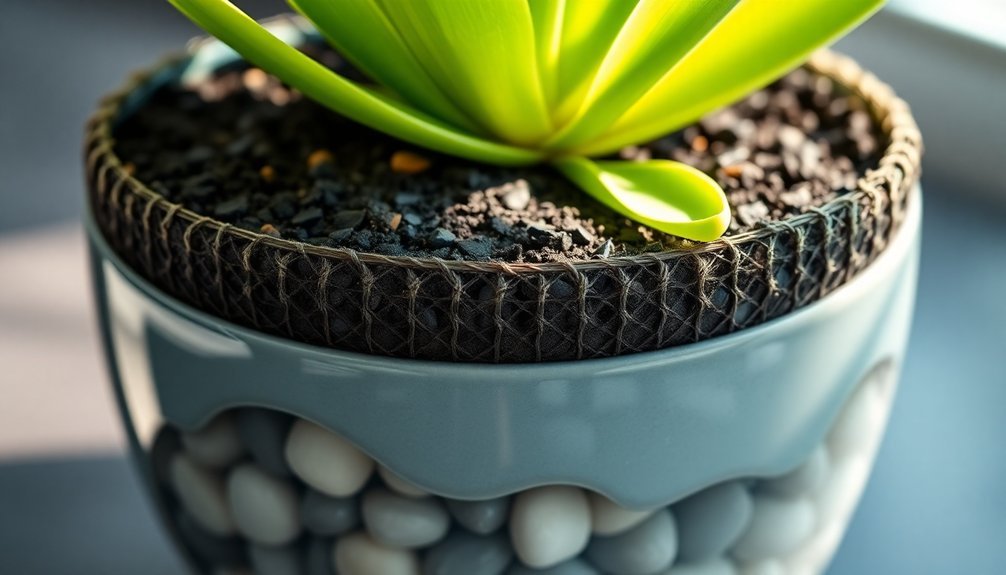
Proper layering within your cachepot creates a foundation for successful plant drainage.
Start by placing a drainage layer of pebbles or packing peanuts at the bottom, allowing excess water to escape. Add horticultural charcoal above this base to manage moisture and nutrients effectively.
Create space for air circulation by elevating your grow pot slightly using hydrogranules.
- Place non-compressible materials at the bottom to form stable drainage channels
- Layer horticultural charcoal to absorb excess moisture and protect plant roots
- Add support materials to elevate the grow pot for proper airflow
- Monitor and maintain your drainage system regularly to prevent water stagnation
Remember to check your layering setup periodically and refresh materials when needed.
This systematic approach guarantees your plants drain properly and maintain healthy root systems while preventing common issues like root rot.
Matching Cachepots With Plant Water Requirements
Successfully matching cachepots with your plants' water needs requires careful consideration of each species' moisture preferences.
For succulents and other plants that need drier conditions, you'll want cachepots that provide good drainage and ample airflow around the potting container.
If you're growing moisture-loving plants like ferns, select cachepots with drainage holes or reservoir systems.
When potting these plants, make certain there's a proper drainage layer to prevent excess water from pooling. You'll want to monitor soil moisture regularly, and a moisture meter can help you determine when it's time to water.
Remember to choose cachepots that aren't too snug around your grow pots.
A bit of space between containers allows proper airflow and helps prevent waterlogged conditions that can harm your plants' roots.
Creating Air Flow Pathways in Your Setup

Building on proper drainage considerations, establishing effective airflow pathways in your cachepot setup can make the difference between thriving and struggling plants.
You'll want to verify your grow pot has sufficient drainage holes and sits slightly elevated within the cachepot using stones or pot liner pieces. This elevation promotes better airflow and prevents excess water from pooling.
- Create a foundation layer using packing peanuts or hydro granules
- Select a well-aerated potting mix containing perlite or coconut coir
- Position the grow pot above the cachepot base for ideal air circulation
- Monitor drainage holes regularly to prevent blockages
Remember to check the space between your grow pot and cachepot periodically, as debris can accumulate and affect moisture retention.
These steps will maintain healthy root systems by balancing oxygen flow with proper water drainage.
Preventing Root Rot Through Strategic Design
While many plant enthusiasts focus on aesthetics, preventing root rot in a cachepot system starts with strategic design choices.
You'll need to guarantee your grow pot has adequate drainage holes and sits above a layer of pebbles or hydrogranules in your cachepot. This creates an essential barrier between your plant's roots and any excess water.
Choose a pot that fits well but isn't too snug, allowing you to easily lift it out for proper watering and moisture checks.
When you water, remove the grow pot completely and soak it in your sink, letting it drain thoroughly before returning it to the cachepot.
Don't forget to regularly check for and empty any standing water in the bottom of your cachepot – this simple habit will greatly reduce your plant's risk of root rot.
Balancing Aesthetics With Functionality
You'll discover that creating a stunning cachepot setup doesn't mean sacrificing your plant's health, as modern design techniques seamlessly merge beauty with practicality.
Your cachepot can maintain its elegant appearance while incorporating hidden drainage solutions, such as discrete grow pots and strategically placed pebble layers.
Design Meets Plant Health
Finding the sweet spot between style and substance is vital when setting up a cachepot drainage system.
You'll want to guarantee your decorative pot complements your space while allowing proper water movement to maintain ideal plant health. When excess water can't escape, roots suffer, so choosing a cachepot that accommodates drainage holes is essential.
- Select a cachepot that's slightly larger than your grow pot for a polished look
- Install a layer of pebbles or hydrogranules at the base to improve drainage
- Choose designs that let you monitor water levels easily
- Position the grow pot at the right height for both aesthetics and function
Hidden Drainage Solutions
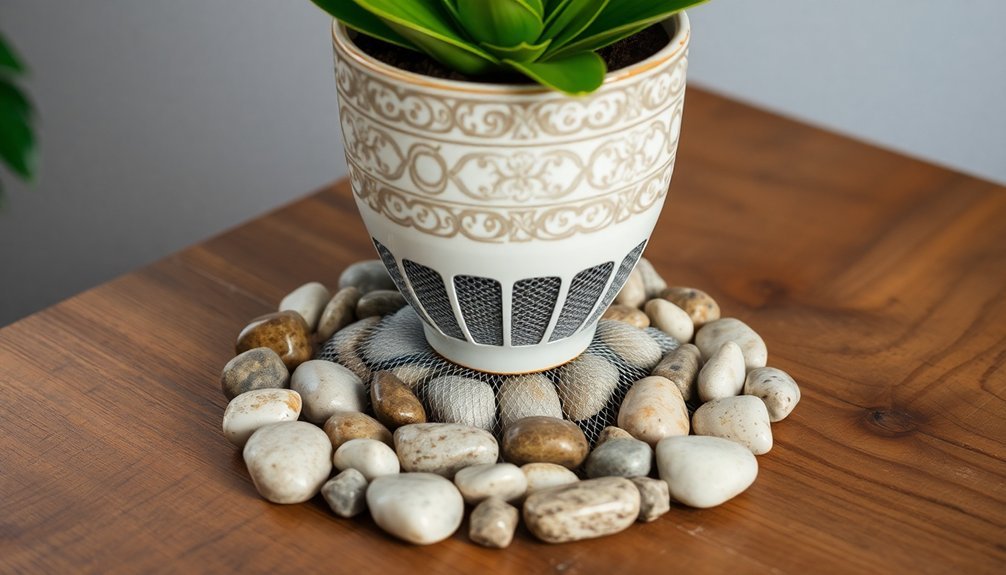
A well-designed cachepot drainage system can remain invisible while performing its essential function. You'll find several effective solutions that preserve your planter's aesthetic appeal while managing moisture effectively.
Start by creating a foundation layer using packing peanuts or gravel at the bottom of your cachepot. This invisible drainage layer allows excess water to escape without compromising the display.
Elevate your grow pot by placing pebbles or hydrogranules underneath, ensuring proper air circulation around the roots. For added protection, insert a pot liner between the grow pot and cachepot to prevent moisture damage.
Don't forget to top your arrangement with decorative stones or mulch – they'll enhance the visual appeal while helping with moisture management.
Remember to regularly check for water accumulation by lifting the grow pot, ensuring your hidden drainage system functions properly.
Elegant Water Management
While maintaining a stunning display, proper water management in cachepots requires thoughtful consideration of both form and function.
You'll want to balance style with practicality to prevent root rot while preserving your cachepot's decorative appeal. A well-designed drainage system protects both your plant and the container's aesthetic value.
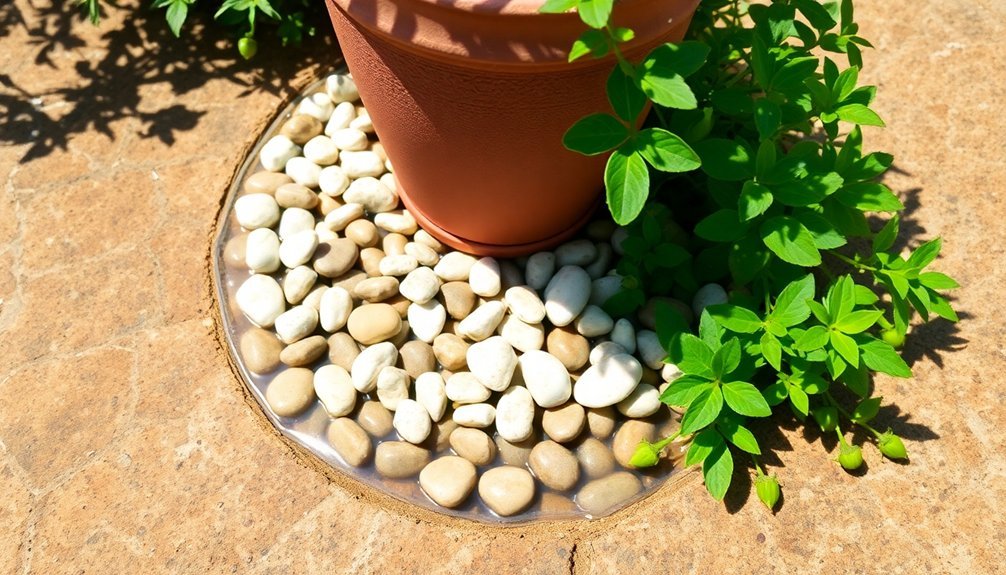
- Position your grow pot on a bed of pebbles or hydrogranules to elevate it and allow excess water to drain freely.
- Install a protective pot liner that lets you monitor water levels while shielding your decorative cachepot from moisture damage.
- Place a subtle saucer inside to catch drainage without compromising the overall look.
- Keep the setup accessible so you can easily remove the grow pot for thorough watering and inspection.
Regular monitoring and emptying of standing water guarantees your plants thrive while maintaining their elegant presentation.
Maintaining Your Cachepot Drainage System
Successful cachepot drainage maintenance requires regular attention to prevent common plant health issues like root rot and soil saturation.
You'll need to verify your grow pot has adequate drainage holes and check frequently for excess water accumulation at the base of your cachepot.
Create a stable foundation by adding a layer of pebbles or hydrogranules at the bottom of your cachepot.
This drainage layer helps prevent soil saturation and promotes better moisture control.
Don't forget to monitor and refresh these materials periodically to maintain their effectiveness.
Establish a consistent watering schedule that allows the soil to dry between waterings, especially for moisture-sensitive plants like succulents and orchids.
Remove the grow pot regularly to empty any standing water and inspect the drainage system's overall performance.
Troubleshooting Common Drainage Issues
Even with proper maintenance, drainage problems can arise in your cachepot setup. If you're noticing signs of overwatering like yellowing leaves or stunted growth, it's time to investigate your drainage system.
Check if excess water is pooling at the bottom of your cachepot and confirm your drainage layer of pebbles or hydrogranules isn't compacted.
- Remove the grow pot when watering to prevent water accumulation
- Monitor the pot's weight – heaviness indicates waterlogged soil
- Look for proper water flow through drainage holes in the bottom
- Test soil moisture before each watering session
If water isn't draining properly through your drainage layer, consider repotting with a better-draining potting mix.
Frequently Asked Questions
Do Rocks at the Bottom of a Planter Help Drainage?
No, rocks at the bottom of your planter won't help drainage. They can actually create a water well that traps moisture. You'll get better results using well-draining potting soil with perlite or vermiculite instead.
What Do You Put in the Bottom of a Planter for Drainage?
You'll want to layer your planter's bottom with gravel, pebbles, or horticultural charcoal. Add packing peanuts for lightweight options. These materials prevent soil from blocking drainage holes and help excess water escape.
What to Put in a Cachepot?
You'll want to layer your cachepot with pebbles or hydrogranules first, add horticultural charcoal above that, insert a pot liner, and place your grow pot with drainage holes on top for best results.
Is It Okay to Put Styrofoam in the Bottom of a Planter?
Yes, you can use Styrofoam in planter bottoms. It'll help with drainage and reduce pot weight. Just make certain you're using durable Styrofoam, don't overfill, and pair it with quality potting mix.
In Summary
Creating the perfect cachepot drainage setup isn't rocket science, but it does require attention to detail. By choosing the right materials, implementing proper layering techniques, and maintaining regular checks on your drainage system, you'll protect your plants from root rot while keeping your decor stunning. Remember, you're aiming for that sweet spot between functionality and aesthetics – and with these guidelines, you'll achieve it.


Leave a Reply