You can propagate rubber trees through stem cuttings, water propagation, or air layering. Start by selecting a healthy 6-inch stem with several nodes from the mother plant. For water propagation, cut at a 45-degree angle, remove lower leaves, and place in clean water. Change the water weekly and wait 2-4 weeks for roots to develop. Once roots reach 2 inches, transplant into well-draining soil. Proper technique and patience will reveal your propagation success.
Essential Tools and Materials for Rubber Tree Propagation
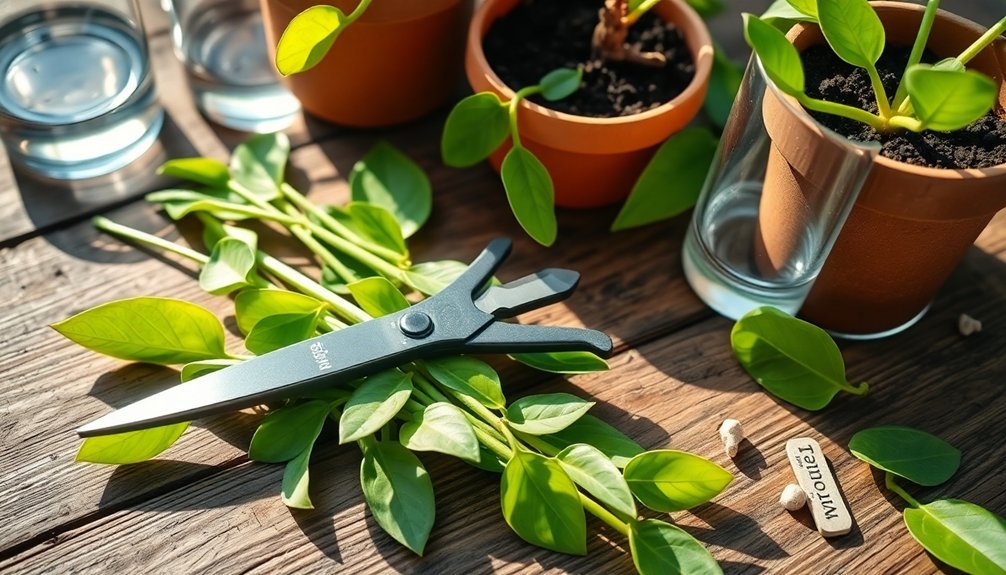
Before starting your rubber tree propagation journey, you'll need to gather several essential tools and materials to guarantee success.
You'll require either clean kitchen shears or a sharp, clean knife to make precise cuts on the stems without damaging the plant tissue.
For water propagation, select a clear glass vase or jar that lets you monitor root growth easily.
If you're planning to use soil propagation, get some rooting hormone to apply to your cuttings – it'll help stimulate stronger root development.
Keep sphagnum moss on hand for air layering techniques, as it provides the perfect environment for new roots to form.
Finally, prepare a well-draining potting mix combining peat, pine bark, and sand to give your rooted cuttings the best start when you're ready to plant them permanently.
Selecting the Perfect Mother Plant for Cuttings
When selecting a rubber tree for propagation, you'll want to check for glossy, unblemished leaves and multiple healthy stems, which signal the plant's readiness for successful cuttings.
Look for elongated stems at least 6 inches in length with several leaf nodes, as these make ideal cutting locations for root development.
You'll also need to guarantee the mother plant has proper soil moisture and shows no signs of pest infestation before taking your cuttings.
Healthy Growth Indicators
Success in rubber tree propagation begins with selecting an ideal mother plant that exhibits clear signs of robust health. You'll want to look for a healthy rubber tree with glossy, oval-shaped leaves and consistent new growth throughout the year. A robust plant will show vitality in its healthy stem and overall appearance.
| Indicator | What to Look For |
|---|---|
| Leaves | Glossy, oval-shaped, dust-free |
| Growth | Consistent new shoots year-round |
| Health | No pests, diseases, or blemishes |
To maintain your mother plant's vigor, make certain you're following proper care routines. Keep the soil appropriately moist by allowing the top layer to dry between waterings. Regular leaf dusting is essential for maintaining photosynthesis efficiency. These practices will guarantee your mother plant remains in prime condition for successful propagation.
Prime Cutting Locations
Once you've identified a healthy mother plant, the next step is pinpointing the ideal spots for taking your cuttings.
When you propagate Rubber plants, look for stems that have become leggy or elongated, as these make excellent candidates for pruning and will encourage fuller growth on the mother plant.
Choose sections with at least four leaf nodes, which will support strong root development once you've taken your cutting.
Spring is the prime time to select your cuttings, as the plant's active growth phase will help guarantee success.
Examine the mother plant carefully, selecting stems from areas where the leaves are particularly glossy and vibrant.
A healthy rubber tree will provide the best foundation for new growth, so avoid any sections showing signs of disease or damage.
Identifying the Best Stem Sections to Cut
Selecting the right stem sections is essential for successful rubber tree propagation. Look for healthy stems about 6 inches long with at least four leaf nodes for best results. The best cuttings come from the top or middle sections where new growth is actively occurring, ensuring better vigor in your propagated plant.
When choosing your cutting locations, focus on:
- Leggy or elongated stems that will benefit both the mother plant and provide excellent propagation material.
- Stems with clean, blemish-free leaves to prevent disease transmission during the rooting process.
- Sections that allow you to cut just above one node and an inch below another to maximize root growth potential.
Remember to inspect each potential cutting carefully, ensuring the stem is firm and the leaves are vibrant before making your final selection.
Proper Cutting Techniques for Maximum Success
Now that you've identified the ideal stems, proper cutting technique will determine your propagation success.
You'll need clean, sharp kitchen shears or a floral knife to make precise cuts that minimize damage to your plant.
Make your cut at a 45-degree angle, ensuring each cutting is about 6 inches long with multiple leaf nodes – this is essential for roots developing later.
When preparing your cuttings in water, remove leaves from the bottom half to prevent rot. Always include at least one leaf node below the water line, as this is where new roots will emerge.
After the stem is cut, immediately pat the end with a paper towel to absorb any sap. This step isn't just about cleanliness – it protects you from potential skin irritation and helps your cutting start strong.
Preparing Cuttings for Root Development
Three critical steps will transform your fresh rubber tree cutting into a thriving plant. Start by selecting a healthy cutting about 6 inches long with at least four leaf nodes. Make your cut above a node at a diagonal angle to minimize sap loss.
To prepare your cutting for root development:
- Remove any leaves from the bottom portion of the stem to prevent rotting when placed in water.
- Apply rooting hormone to the cut end to speed up root formation and boost success rates.
- Roll the remaining top leaf to reduce moisture loss while roots develop.
Remember to make swift, clean cuts to protect the plant's health. These preparation steps maximize your cutting's chances of developing a strong root system and growing into a robust rubber tree.
Water Propagation Method Step-by-Step
Before starting water propagation, you'll need clean, sharp scissors or pruning shears to make precise cuts that promote healthy root growth.
The timeline for root development typically spans 2-4 weeks, during which you'll see small white roots emerging from the cut end of your rubber tree stem.
You can speed up the rooting process by maintaining consistent temperatures between 65-75°F and changing the water weekly to provide fresh oxygen to the developing roots.
Preparing Your Cutting Tools
Successful rubber tree propagation begins with properly prepared cutting tools. You'll need either clean kitchen shears or a sharp knife to make precise cuts that promote healthy growth. Having the right tools ready will guarantee a smooth propagation process and prevent damage to both the parent plant and your new cutting.
Before you begin propagating your rubber tree, follow these essential preparation steps:
- Sanitize your cutting tools thoroughly with rubbing alcohol or a diluted bleach solution.
- Confirm your shears or knife are sharp enough to make clean, precise cuts without crushing the stem.
- Have a clean workspace ready with all necessary materials within reach.
Using properly prepared tools helps prevent infection and increases your chances of successful propagation while protecting your rubber plant from unnecessary stress or damage.
Root Development Timeline
With your tools properly sanitized and ready, you can now focus on the root development process for your rubber tree cutting.
When you propagate a rubber plant in water, you'll need to be patient as new roots typically emerge within the first month. Place your cutting in a jar of water where it will remain for several months until the roots reach approximately 2 inches in length.
Position your developing cutting in bright, indirect light to support healthy root development.
You'll need to monitor the water level regularly, making sure the stem stays submerged while keeping the leaves above water.
Once your cutting develops thick, established roots, it's time to transplant it into well-draining potting soil, where it can continue growing into a healthy rubber tree.
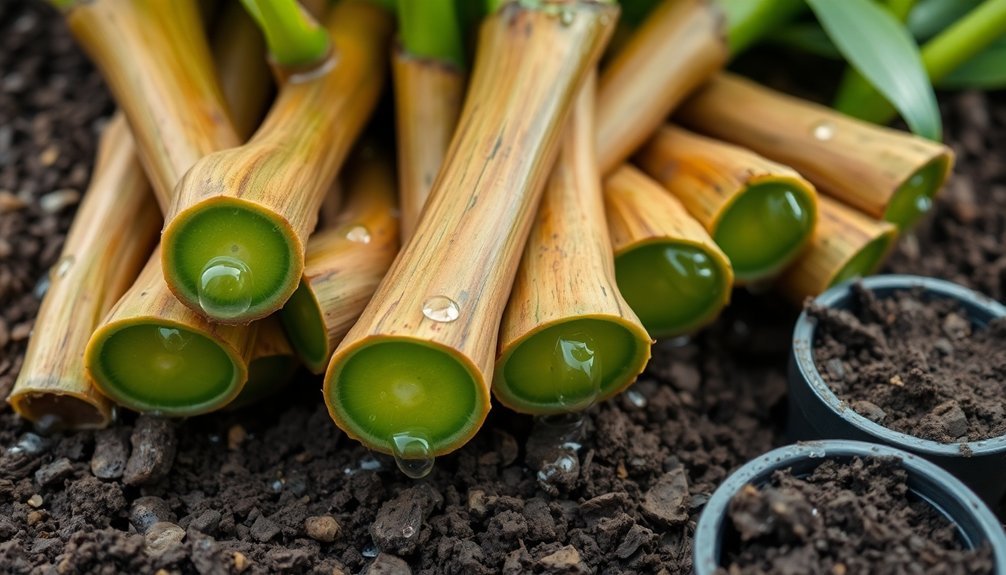
Soil Propagation Method Step-by-Step
To propagate a rubber tree in soil, start by selecting a healthy 6-inch stem with several leaves attached.
Make your cut at a 45-degree angle between two nodes, then dip the cut end in rooting hormone to promote root development.
For successful rubber tree cuttings, follow these key steps:
- Plant the treated stem in moist, well-draining potting mix.
- Create a humid environment by covering the cutting with plastic.
- Place in bright, indirect light in a warm location.
Check for root development after 2-3 weeks by gently tugging the stem – if you feel resistance, roots are forming.
Once roots have established, transplant the cutting into a larger pot with standard potting soil.
You'll now care for your new plant just like a mature rubber tree.
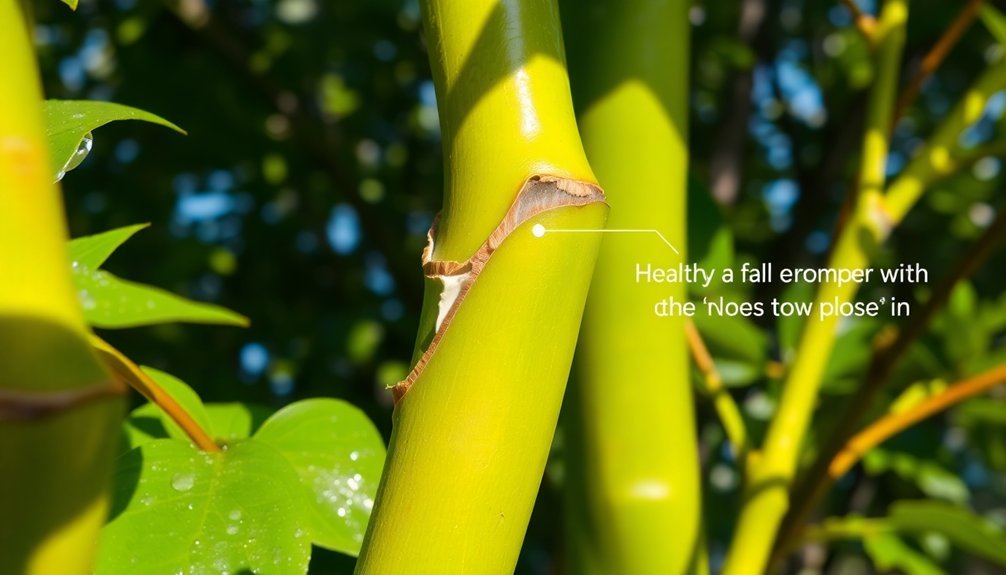
Air Layering Technique for Advanced Growers
Air layering represents a sophisticated propagation method that enables you to grow new rubber trees while they're still attached to the parent plant.
You'll achieve the best results by starting this process in spring during the plant's active growth period.
To begin, you'll need a floral knife, rooting hormone, wet forest moss, plastic bags, and twine.
Make a precise wound on the stem, then apply rooting hormone to the cut area. Wrap the wounded section with moist moss and secure it tightly with plastic and ties.
It's crucial to maintain consistent moisture in the moss throughout the process.
Within 2-3 weeks, you'll notice roots developing at the cut site.
Once you see substantial root growth after 2-3 months, you can separate your new plant from the parent tree.
Signs of Successful Root Formation
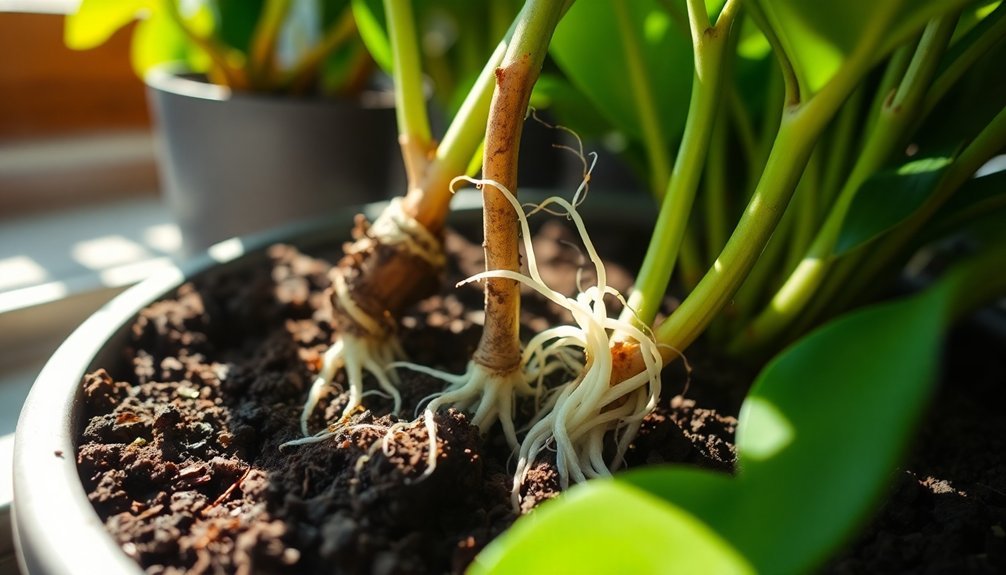
When propagating your rubber tree, you'll know roots are forming successfully by watching for thick, healthy roots that are white or light tan in color.
You can also track root development by measuring their length, with 2-inch roots indicating they're ready for soil transplanting.
If you're unsure about root establishment, try a gentle tug test – resistance means your cutting has developed a strong root system.
Root Color Changes
Monitoring root color changes will help you determine if your rubber tree cutting is developing successfully.
You'll notice healthy roots starting as white to light brown, indicating proper development. As your cutting matures, the roots will naturally darken, signaling they're ready for transplanting into soil.
Here's what to look for during root development:
- White to light brown roots – These indicate fresh, healthy growth in the first few weeks
- Darker brown coloring – Shows roots are maturing and becoming well-established
- Mushy, dark roots – Warning signs of rot; remove these cuttings immediately
Regular inspection of root color changes is crucial to monitor health and timing for soil transfer.
Watch for these transformations within the first month of propagation to guarantee your cutting stays viable.
Growth Length Indicators
Successful rubber tree propagation relies heavily on recognizing the right root development signs.
When you propagate your rubber tree in water, you'll start seeing new root tips emerge after about a month. These small white growths are your first indicator of success.
You'll know your cutting is ready for soil when the roots reach approximately 2 inches in length and appear thick and robust. The roots should be firm to the touch and white to light tan in color.
When you gently tug on the cutting, it should resist – that's a clear sign that strong roots have developed in the water. These growth indicators help guarantee your cutting has established a healthy foundation before transplanting, increasing your chances of successful propagation.
Transplanting and Aftercare Guidelines
Once your rubber tree cutting develops roots approximately 2 inches long, it's time to move it to a permanent home.
Start transplanting by filling a pot with well-draining potting mix, carefully placing your cutting, and positioning it in bright indirect sunlight. Remember to avoid overwatering by letting the soil dry between waterings, and use a high-phosphorus fertilizer to boost root development.
For successful aftercare, follow these essential steps:
- Keep the temperature steady between 65°F-78°F
- Mist the leaves periodically to maintain humidity
- Switch to a high-nitrogen fertilizer once leaves mature
Your newly transplanted rubber tree will thrive with proper care, eventually developing into a robust plant with lush foliage.
Watch for signs of growth and adjust care as needed.
Frequently Asked Questions
How Do You Propagate Rubber Tree Cuttings?
You'll need to cut a 6-inch stem at 45 degrees below a node, remove lower leaves, and place in water or soil with rooting hormone. Keep it in bright indirect light until roots develop.
Is It Better to Propagate a Rubber Plant in Water or Soil?
While you'll have success with both methods, soil propagation's typically better for rubber plants. You'll get stronger roots and higher success rates with soil, though water propagation lets you monitor root development more easily.
Where to Cut a Rubber Tree for Branching?
Make your cut just above a leaf node, where you'll see a small bump on the stem. You'll stimulate branching at this point, and the plant will typically produce two new shoots there.
How Do You Process Rubber From Rubber Trees?
You'll need to tap the tree's bark to collect latex, let it flow for 24 hours, gather the liquid, and add acids to coagulate it. Then wash and dry the solidified rubber for commercial use.
In Summary
Now you're ready to propagate your rubber tree with confidence. Whether you've chosen stem cuttings or air layering, you'll need patience as roots develop over several weeks. Keep your new plants in bright, indirect light and maintain consistent moisture. Once you see healthy growth, you can transplant your rubber tree babies and share them with fellow plant enthusiasts. With proper care, you'll soon have thriving new plants.


Leave a Reply