Build your own living herb wall to purify indoor air and create a stunning vertical garden. You'll need plywood, mounting hardware, clay pots, and an irrigation system. Choose powerful air-cleaning herbs like basil, mint, rosemary, and lavender, which remove toxins while providing fresh ingredients for cooking. Mount your supplies securely, following proper spacing for growth, and maintain with regular watering and rotation. Discover how this natural air filtration system can transform your space.
Essential Equipment and Materials for Your Living Wall
Success in creating a living wall starts with gathering the right equipment and materials. You'll need plywood as your foundation, along with screws and anchors to mount it securely to your wall.
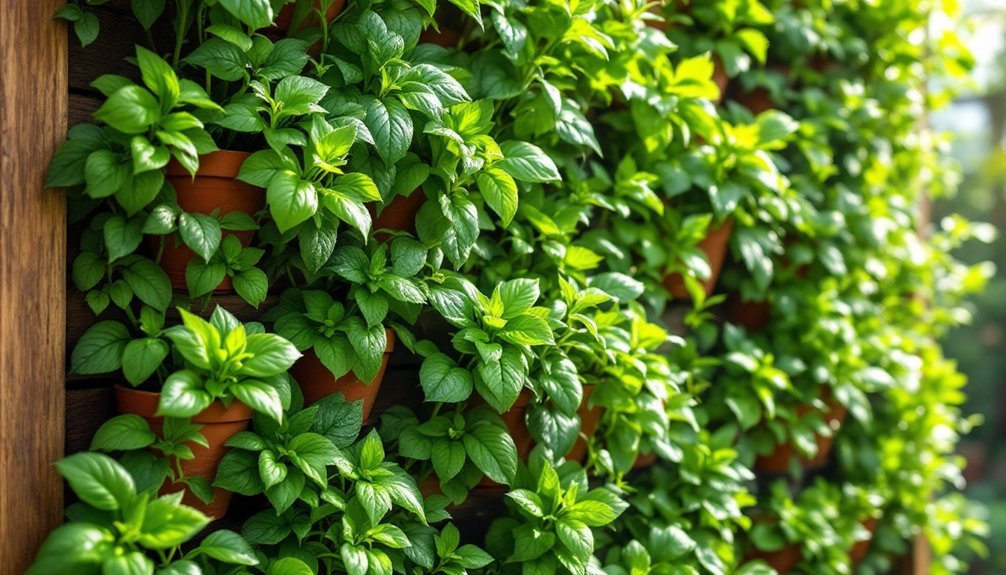
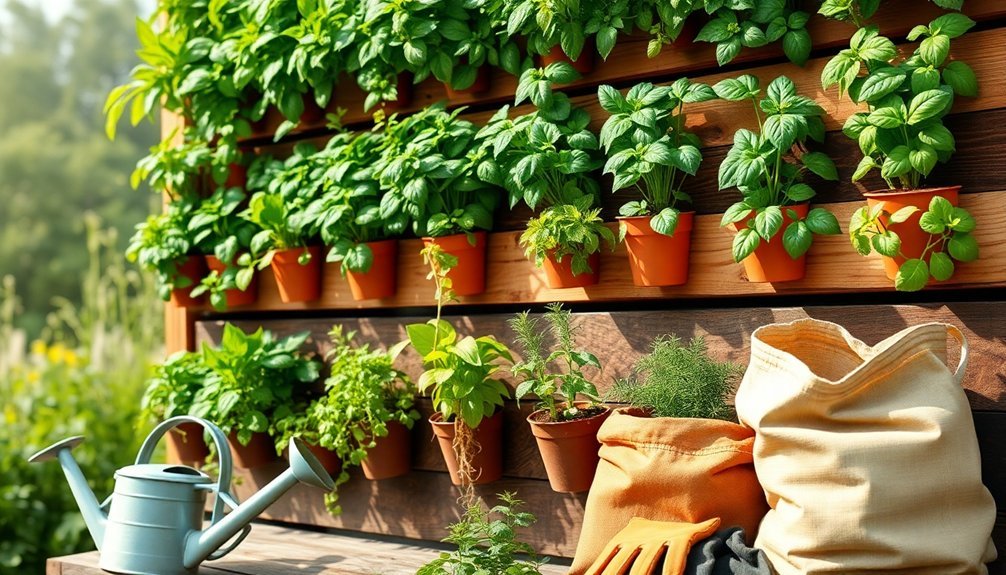
For your indoor plants, clay pots with sturdy plant hangers will provide the perfect housing system.
Don't forget the essential equipment for maintaining your living wall. A reliable irrigation system is vital – whether you choose drip irrigation or manual watering methods.
You'll also need grow lights if your space doesn't receive adequate natural light, and timers to regulate the lighting schedule.
Consider using sanded wood or cinder blocks for additional support, and finish your structure with spray paint to match your décor.
These materials guarantee your living wall is both functional and aesthetically pleasing.
Selecting the Best Air-Purifying Herbs
Looking to maximize both functionality and beauty in your living wall? Select herbs that not only enhance your cooking but also purify your air. Your DIY herb wall can dramatically improve air quality when you choose powerful natural filters like basil, mint, and rosemary, which actively remove toxins such as formaldehyde and benzene.
For your indoor vertical garden, incorporate lavender and sage to boost oxygen levels while reducing airborne pollutants. Fresh herbs like oregano and thyme serve double duty by filtering harmful compounds and adding visual interest.
To maintain your living wall's effectiveness, regularly harvest and tend to your herbs – this encourages robust growth and maximizes their air-purifying abilities. In dry environments, these plants will naturally increase humidity levels, supporting better respiratory health throughout your home.
Planning Your Wall Layout and Support Structure
Start your living wall project by taking detailed measurements of your intended wall space, noting any obstacles like outlets or switches that might affect your layout.
You'll need to map out precise positions for your support brackets, ensuring they align with wall studs and provide adequate strength for your planters.
Position your supports strategically to accommodate your chosen herbs' growth patterns while maintaining easy access for maintenance and harvesting.
Measuring Wall Space Precisely
The first essential step in creating your living wall is precise measurement of the designated space. When measuring wall space for your DIY living wall, you'll need to account for both height and width while considering surrounding furniture and decor. This careful planning guarantees your indoor living garden fits perfectly without overwhelming the room.
Start by using a stud finder to locate and mark wall supports – they're vital for bearing your plant wall's weight.
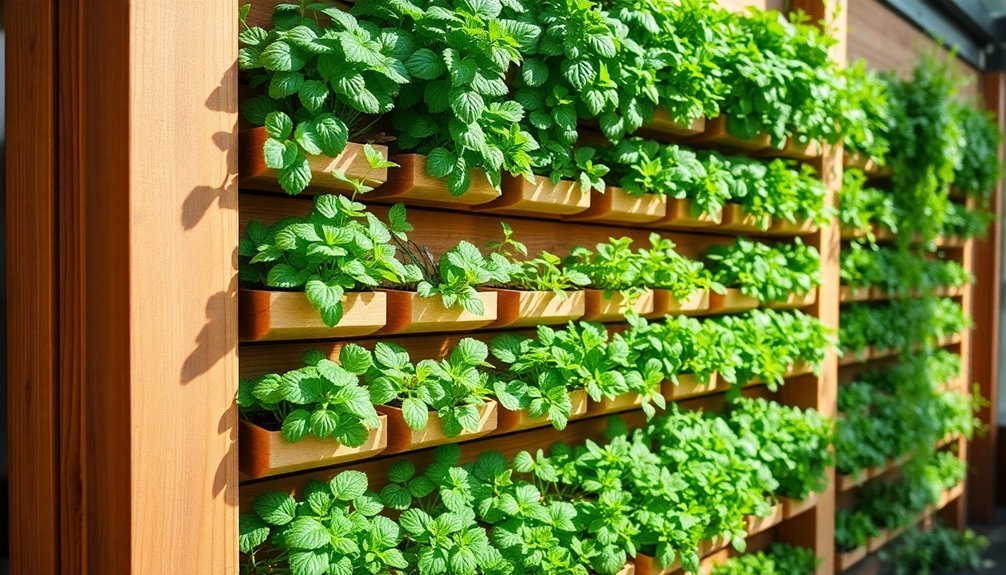
Next, plan for 12-18 inches of vertical space between shelves to accommodate healthy plant growth and easy maintenance. Before installing any hardware, sketch your design on paper, mapping out each plant's position based on height and light needs.
Double-check all measurements against your chosen support structure to confirm everything aligns properly for creating an indoor oasis.
Strategic Support Placement
Strategic support placement serves as the backbone of your living wall's success. Whether you're creating an indoor or outdoor wall herb garden, you'll need to carefully position your supports to maximize natural light exposure while ensuring structural integrity.
Start by using a stud finder to locate secure mounting points for your adjustable brackets. You'll want to space them appropriately to accommodate different plant heights and prevent overcrowding.
Position taller plants where they won't cast shadows on shorter ones, and leave enough space between brackets for proper air circulation.
Place your support structure within easy reach of a water source to simplify maintenance. Choose brackets that can be adjusted as your plants grow and your garden evolves.
This flexibility allows you to modify your layout seasonally while maintaining a sturdy foundation for your thriving herb wall.
Step-by-Step Assembly Guide
Get started by gathering your essential tools: a stud finder, drill, level, screws, brackets, and the pre-cut, painted plywood that'll form your wall's foundation.
You'll need to mount the brackets first, using your stud finder to locate secure attachment points and ensuring everything's perfectly level with your measuring tools.
Once the brackets are firmly in place, you can attach your painted plywood backing and begin installing the shelving systems that'll hold your herb planters.
Tools and Materials Required
Building a living wall starts with gathering seven essential tools and materials for successful assembly. For this DIY project, you'll need two 4-foot pieces of plywood, a 1 x 2 board for framing, screws with anchors, and clay pots designed for indoor plants.
Don't forget a stud finder – it's vital for safe installation and preventing wall damage.
Your basic tools should include a spray paint can in your chosen color (Moss Green works well), plant hangers in various sizes, and potting soil suitable for your selected plants.
The hangers will create visual interest while supporting different pot sizes. Remember to choose materials that can withstand moisture and weight, as your living wall will become heavier once the plants are established and watered regularly.
Wall Mounting Instructions
Before mounting your living wall, locate the wall studs using your stud finder to confirm a secure foundation for the entire structure. To create an indoor herb garden that's both functional and beautiful, make certain to measure and mark your desired shelf positions carefully. Mount each bracket into the studs using wood screws and anchors, verifying they're level before proceeding.
| Step | Action | Tool Required |
|---|---|---|
| 1 | Find Studs | Stud Finder |
| 2 | Mark Spots | Pencil, Measuring Tape |
| 3 | Install Brackets | Drill, Screwdriver |
| 4 | Check Level | Laser Level |
Once you've secured the brackets, test each shelf's stability before adding your living plants. Double-check that all mounting points are firmly anchored to support the weight of soil, planters, and herbs. This careful installation process will confirm your vertical garden remains secure and visually appealing for years to come.
Watering Systems and Maintenance Schedule
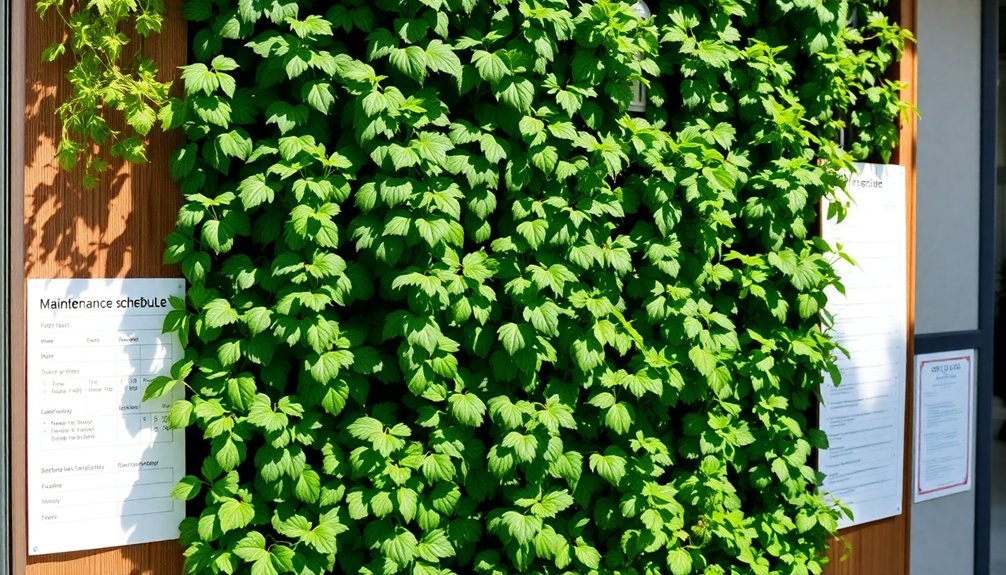
Since proper hydration is crucial for a thriving living wall, a reliable watering system and consistent maintenance schedule are fundamental components of your herb garden's success.
Install a drip irrigation system to guarantee your herbs receive steady moisture without risking root rot from overwatering. You'll need to monitor moisture levels every 2-3 days using a moisture meter to maintain ideal soil dampness.
Your maintenance schedule should include rotating plants weekly for even light exposure and consistent growth.
During the growing season, fertilize your herbs every 4-6 weeks with a balanced, water-soluble fertilizer. This extensive care approach helps create a self-sustaining ecosystem in your living wall.
Maximizing Air Quality Benefits Through Plant Placement
While creating your living herb wall offers aesthetic appeal, strategic plant placement can dramatically enhance its air-purifying potential. Your DIY indoor green wall can maximize air quality benefits when you position herbs thoughtfully.
Place air-filtering champions like basil, mint, and rosemary in well-lit spots to boost their toxin-removing capabilities.
For best indoor living results:
- Group herbs with similar light and water requirements together
- Rotate plants regularly to guarantee equal sun exposure
- Position your herb wall near windows or under grow lights
Frequently Asked Questions
How Do You Make a Living Wall With Air Plants?
Mount your air plants on a sturdy wood or mesh panel using wire or glue. Don't forget to mist them regularly and place them in bright, indirect light with good air flow.
How to Make a Live Wall With Plants?
You'll need to mount a sturdy base panel, attach plant containers securely, select suitable vertical-growing plants, install an irrigation system, and maintain regular care through pruning and pest monitoring for your living wall.
How to Start an Herb Wall?
Choose a sunny spot and mount backer boards on your wall. Fix mason jars with hose clamps, fill them with soil, and plant indoor-friendly herbs like basil and mint. Don't forget proper drainage and regular maintenance.
Do You Have to Water Living Walls?
Yes, you'll need to water your living walls regularly. While drip irrigation systems can automate this task, most living walls require weekly watering. You should monitor soil moisture levels to prevent under or overwatering your plants.
In Summary
You're now equipped to transform your space with a living herb wall that actively purifies your air while adding natural beauty. Don't forget to rotate your plants seasonally, monitor moisture levels, and trim herbs regularly to maintain healthy growth. With proper care, your DIY living wall won't just provide fresh herbs for cooking – it'll create a healthier indoor environment that you'll enjoy for years to come.


Leave a Reply