
To split your Boston fern successfully, start by gathering sterilized pruning shears and preparing fresh potting soil. Water your fern thoroughly a day before division, then gently remove it from its pot and inspect the roots. Using your shears, divide the root ball into sections based on natural division points. Replant each section in pots with proper drainage, and maintain consistent moisture and indirect light. Follow these five detailed steps to guarantee your divided ferns thrive and flourish.
Essential Tools and Preparation for Boston Fern Division
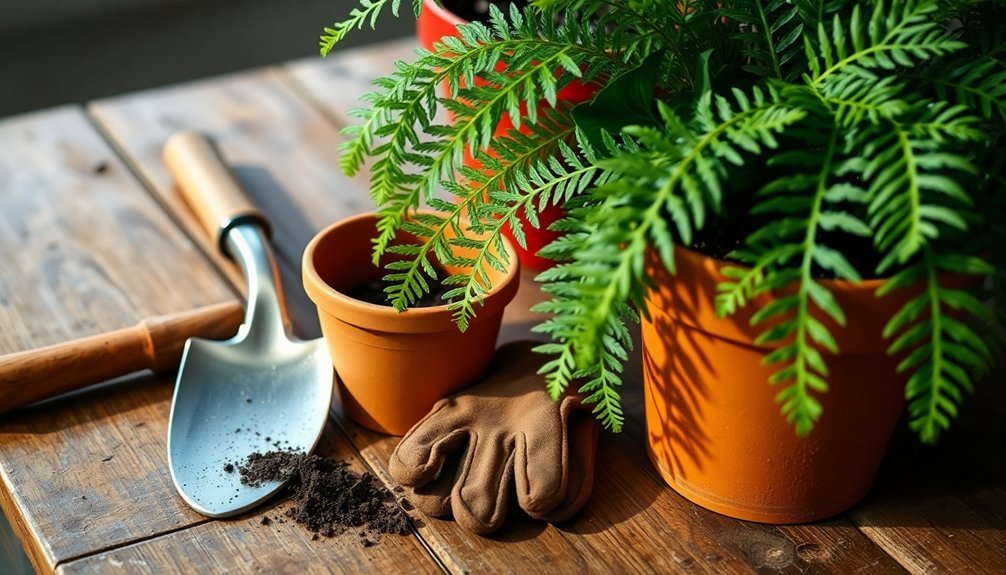
Three essential tools are required before dividing your Boston fern: sharp pruning shears, a serrated knife, and garden forks.
You'll need sterilized pruning shears to guarantee clean cuts and prevent disease transmission when splitting the root ball into smaller sections.
Before you begin, lay out a tarp or newspaper in your workspace to catch soil and debris.
To set yourself up for success, gather high-quality potting soil and select containers with adequate drainage holes that are slightly larger than your divided sections.
Keep the soil consistently moist by watering your fern thoroughly a day or two before division. This preparation helps soften the soil around the roots, making it easier to separate the plant while protecting healthy roots from damage during the process.
Determining the Right Time to Split Your Fern
Timing is essential when splitting your Boston fern, with spring and early summer offering the best conditions for division. During this active growing season, your plant emerges from its dormant winter period, ready to establish new roots and support healthy growth.
You'll know it's the best time to divide when you notice specific signs: roots pushing through drainage holes and densely packed foliage or yellowing leaves indicating a root-bound plant.
Don't wait too long – regular division every 2-3 years maintains your fern's health and vigor by preventing overcrowding and ensuring proper nutrient distribution.
Remember to avoid splitting during winter when your fern is dormant, as this can stress the plant and slow its recovery.
Spring division gives your fern the strongest chance to thrive in the warmer months ahead.
Removing and Inspecting the Root System
Once you've identified the right time to split your Boston fern, proper removal and inspection of the root system will set the stage for successful division.
To remove the plant safely, gently tap the sides of the pot to loosen the soil, then tilt and pull while supporting the base to protect the roots.
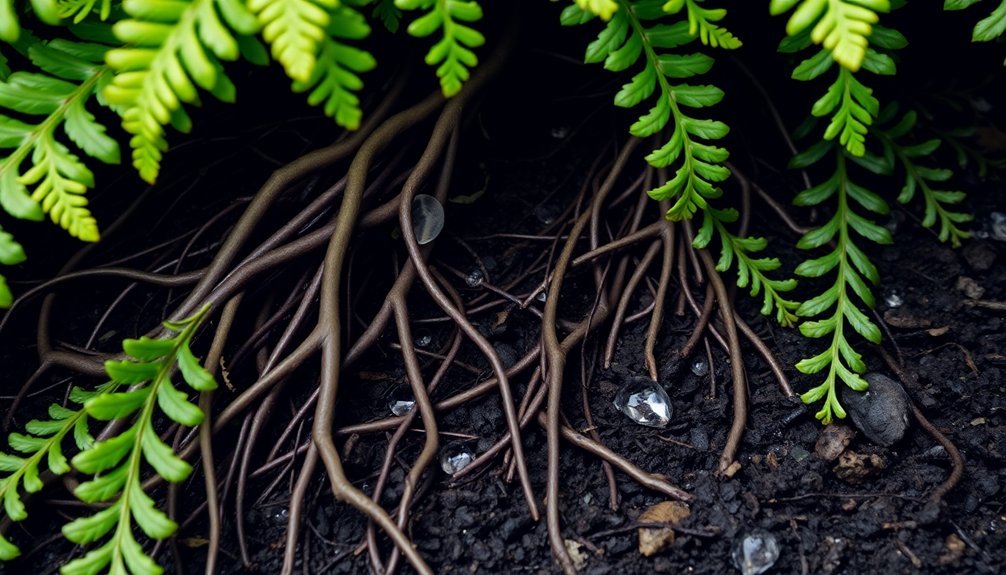
After extraction, you'll need to inspect the root ball thoroughly. Healthy roots should appear white or light tan and feel firm to the touch. Look for any signs of root rot – dark, mushy areas that need to be trimmed away.
Shake off excess soil to expose natural division points in the root system. This careful examination guarantees you're working with manageable, clean roots before propagation begins. Your attention to these details will greatly enhance your chances of successful division.
Dividing the Root Ball With Proper Technique
Dividing your Boston fern's root ball requires precision and the right tools to guarantee successful propagation. Using a sterilized serrated knife, carefully slice through the root ball to create halves, quarters, or eighths. You'll want to shake off excess soil to see natural divisions before cutting.
| Tool | Purpose | Result |
|---|---|---|
| Serrated Knife | Clean division | Minimal root damage |
| Fresh Potting Mix | Healthy growth | Strong establishment |
| Well-draining Pots | Proper moisture | Prevents root rot |
Trim the roots to 1.5-2 inches long and place each divided section into its own pot with fresh potting mix. To help your newly divided fern thrive, maintain consistent soil moisture and provide bright indirect light. This careful approach guarantees you'll successfully propagate new plants from your Boston fern.
Replanting and Aftercare for Divided Ferns
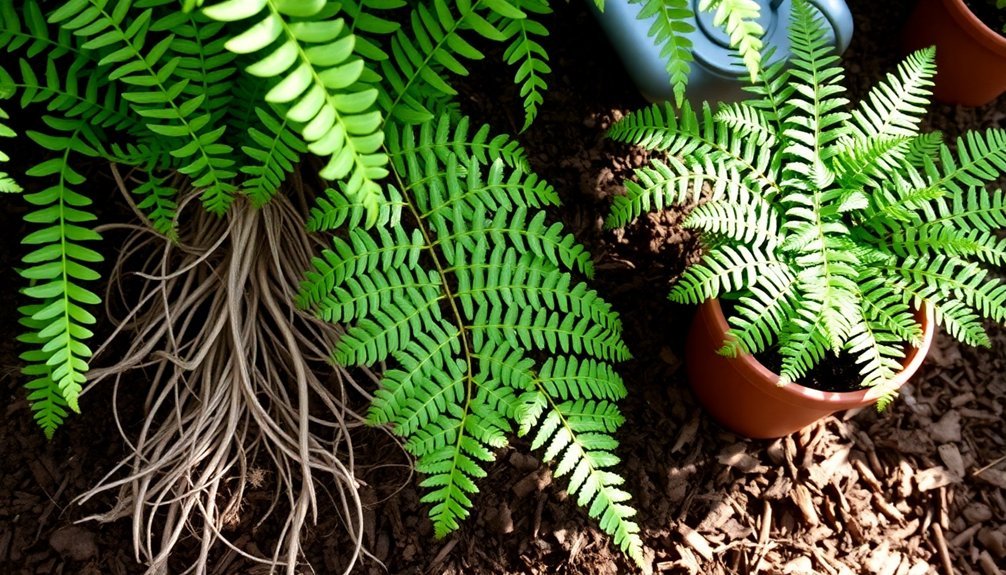
Successful replanting begins with selecting appropriately sized pots for your divided Boston fern sections. Choose containers slightly larger than each root ball and guarantee they've proper drainage holes to prevent waterlogged soil.
After placing your ferns in their new pots, water them thoroughly while maintaining consistently moist but not saturated soil.
You'll need to position your newly potted ferns in bright, indirect light to protect their fronds from scorching and support their recovery process.
Don't forget that Boston ferns thrive in humid environments. Keep up humidity levels by regularly misting your plants or setting them on trays filled with pebbles and water.
This extra care during the establishment phase will help your divided ferns develop strong roots and maintain healthy growth in their new homes.
Frequently Asked Questions
How Do You Split Boston Ferns?
You'll need to remove your fern from its pot, shake off soil, and cut the root ball into sections with a sterile knife. Plant each division in new pots with fresh soil and keep well-watered.
How to Divide Ferns Without Damaging Them?
You'll want to water your fern first, then gently remove it from the pot. Look for natural divisions, use clean, sharp tools to cut through roots, and make sure each section has healthy roots intact.
What Time of Year Do You Split Ferns?
You'll want to split your ferns in spring or early summer during their active growing season. Don't divide them in winter when they're dormant. For best results, plan to divide every 2-3 years.
Can You Take Cuttings From a Boston Fern?
No, you shouldn't take cuttings from Boston ferns as they won't propagate well this way. Instead, you'll have better success dividing the root ball into sections during spring or early summer's growing season.
In Summary
Now that you've learned how to split your Boston fern, you're ready to multiply your plant collection. Remember to keep your newly divided ferns in bright, indirect light and maintain high humidity for the first few weeks. If you've followed these steps carefully, you'll soon see new growth emerging. Don't forget to mist regularly and watch your divided ferns thrive in their new homes.


Leave a Reply