Plant leaves turn crispy due to several common issues: low humidity, improper watering, excessive sunlight, or nutrient imbalances. You'll notice brown edges when humidity drops below 40%, while brown patches with yellowing suggest overwatering. To fix crispy leaves, maintain humidity with regular misting, check soil moisture before watering, provide filtered light, and guarantee proper nutrient levels. Understanding these key factors will help you restore your plant's vibrant, healthy appearance.
Common Signs of Leaf Stress and Their Meanings
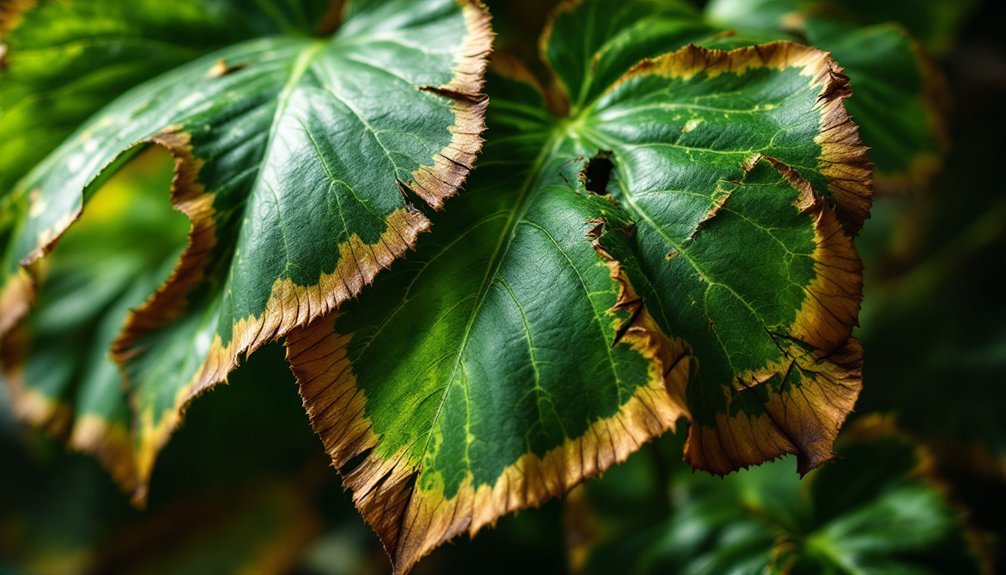
When your plant's leaves start turning crispy, they're sending clear distress signals about specific problems in their environment. The location and pattern of browning helps identify the underlying issue.
Brown edges often point to low humidity levels in your indoor space, while brown leaf tips typically suggest you're not watering enough.
If you notice brown patches along with yellowing leaves, you've likely overwatered your plant, which can damage the roots.
Sudden brown spots in leaf centers usually mean your plant's getting too much direct sun.
Don't panic if older leaves, especially those near the bottom, turn brown and crispy – this is just natural aging.
Humidity Levels and Plant Health
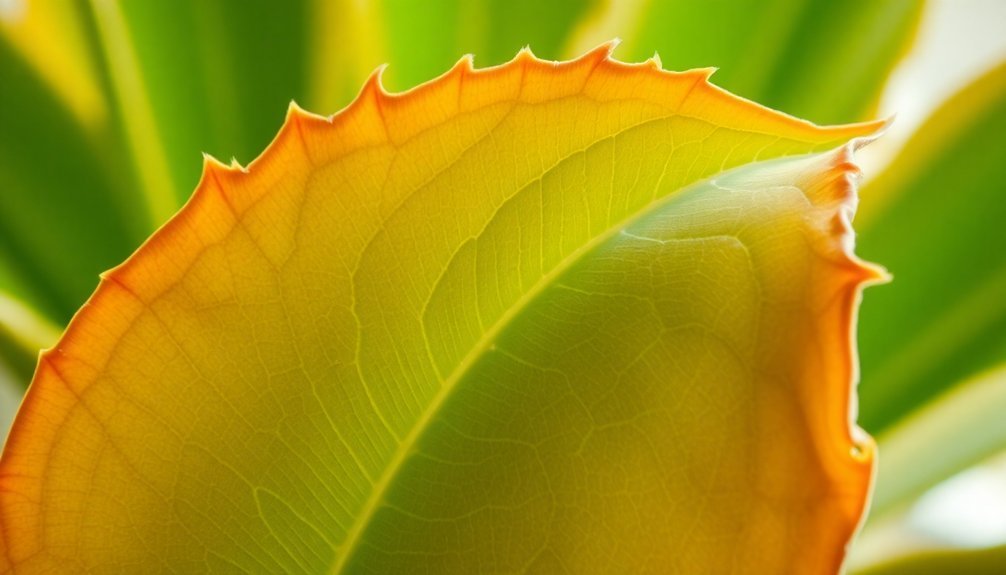
Since most houseplants come from tropical regions, they need higher humidity levels than typical indoor environments provide. When the air becomes too dry, you'll notice your plants developing crispy leaf edges, signaling their distress in the low-moisture environment.
You can boost humidity around your plants in several effective ways. Try misting your plants multiple times per week or setting up a humidifier nearby.
Another smart solution is adding LECA balls as a top layer, which creates a moisture-rich microclimate around your plant. For an easy fix, move your plants to naturally humid spaces like your kitchen or bathroom, where they'll benefit from the extra moisture in the air.
Remember to check specific humidity requirements for each plant species, as their needs can vary considerably.
Proper Watering Techniques for Indoor Plants
Proper watering techniques can make the difference between thriving plants and those with crispy, damaged leaves. To guarantee your plants get the right amount of moisture, always check the top two inches of soil before watering. If it's dry, it's time to act.
Water your plants early in the morning or late afternoon when evaporation is minimal. Use room temperature water to protect sensitive roots, and don't forget to water thoroughly until you see excess water draining from the bottom of the pot. This guarantees complete root system hydration.
For more precise watering, consider investing in a moisture meter. This tool helps you maintain consistent soil moisture levels and develop proper watering techniques that'll prevent those frustrating crispy leaves.
Light Exposure Management
Watch for tell-tale signs of light burn on your houseplants, including brown edges and bleached spots on leaves, which signal it's time to adjust their placement.
You'll need to understand the difference between direct and indirect sunlight to protect your plants, as most indoor varieties thrive in filtered light rather than harsh sun exposure.
When seasons change, you'll want to reassess your plants' light exposure, moving them closer to or farther from windows to maintain ideal growing conditions.
Identifying Light Burn Signs
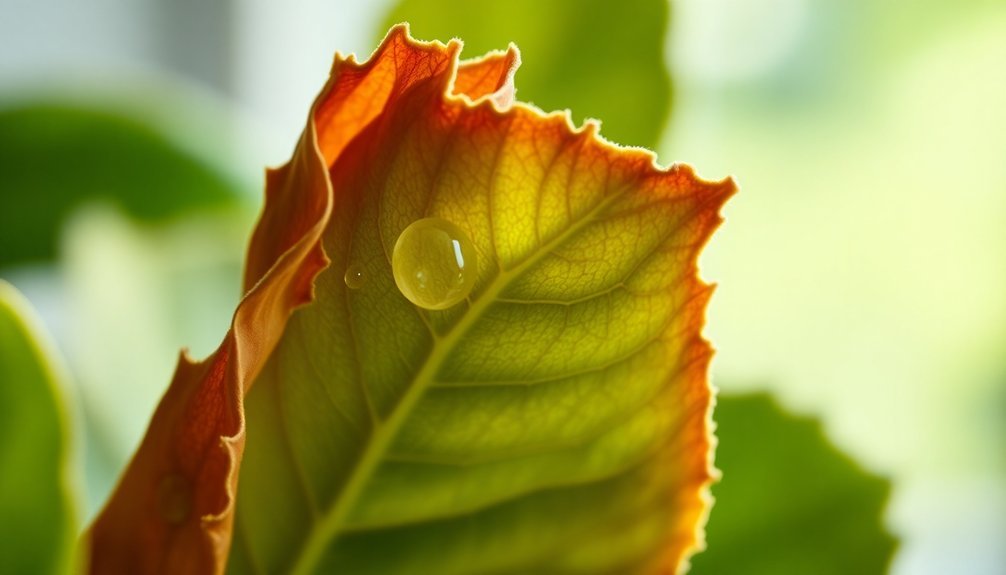
Recognizing light burn on your plants requires careful attention to specific warning signs. When your plant's leaves develop brown edges or spots, it's often a clear indicator of excessive sunlight exposure. The upper leaves closest to light sources are typically the first to show symptoms, displaying crispy tips and faded coloration.
To effectively identify light burn on your plants, watch for these key indicators:
- Bleached or washed-out leaf color, especially on top foliage
- Crispy, brown edges around leaf margins
- Scorched spots appearing on leaf surfaces
You'll want to monitor your plant's appearance regularly, paying special attention to any changes in leaf color or texture. If you notice these signs, it's time to adjust your plant's position or add light diffusion through sheer curtains.
Direct Vs Indirect Sunlight
Understanding the difference between direct and indirect sunlight is essential for preventing crispy leaves on your indoor plants. Direct sunlight hitting your plant's leaves is a common problem that can cause scorching, resulting in brown, crispy edges and faded foliage.
To protect your plants, you'll want to create filtered light conditions that better match their natural habitat. You can achieve this by placing them a few feet away from windows or using sheer curtains to diffuse harsh rays.
Most houseplants thrive with 6-8 hours of bright, indirect light daily. Watch your plants for signs of light stress – if you notice bleached or discolored leaves, they're likely getting too much direct sun.
Remember that each plant species has unique light requirements, so research your specific plant's needs for ideal placement.
Seasonal Light Adjustments
As the seasons shift throughout the year, your indoor plants require strategic light exposure adjustments to maintain healthy foliage.
You'll need to adapt your plant placement to prevent leaf scorch in summer and light deficiency in winter. Using sheer curtains can effectively diffuse intense sunlight while still providing your plants with the brightness they need.
To maintain ideal light conditions year-round:
- Monitor your plant's positioning relative to windows, adjusting their location based on seasonal sun patterns.
- Rotate your plants regularly to promote even growth and prevent one-sided leaf crispiness.
- Consider adding grow lights during darker months to supplement natural light.
This proactive approach to seasonal light management will help protect your plants from both excessive and insufficient light exposure, keeping their leaves healthy and crisp-free throughout the year.
Essential Nutrient Balance and Soil Health
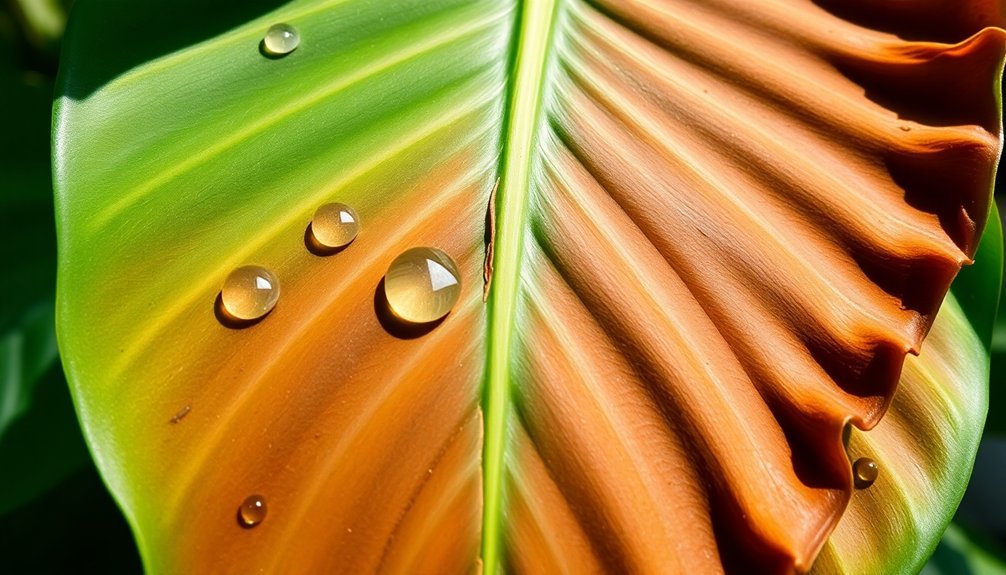
When your plant's leaves turn crispy, poor nutrient balance and soil health are often the root causes. Your plant's nutrient supply directly affects its overall health, and any deficiencies can quickly lead to leaf damage and deterioration.
To maintain ideal soil health, you'll need to focus on two key aspects. First, incorporate organic matter and guarantee proper drainage to help your plants absorb nutrients effectively.
Second, implement regular soil testing to monitor pH and nutrient levels, allowing you to make timely adjustments when needed. If you're noticing crispy leaf tips, you might be dealing with nutrient burn from over-fertilization.
Switch to slow-release fertilizers and stick to a consistent feeding schedule during the growing season to provide your plants with steady, balanced nutrition.
Natural Pest Prevention Strategies
Strategic companion planting lets you create natural pest barriers by pairing aromatic herbs like basil and marigolds with your vulnerable plants.
You'll find that essential oils, including peppermint, lavender, and citrus, work effectively as natural pest deterrents when diluted and sprayed around your garden.
Both methods complement each other perfectly, as the companion plants provide constant protection while essential oil sprays offer targeted control when needed.
Companion Planting Basics
Natural pest prevention starts with smart companion planting – a time-tested method where specific plant combinations work together to protect your garden.
Expert advice suggests that strategic plant pairings can naturally deter pests while promoting healthier growth, reducing your need for chemical treatments.
Consider these proven companion planting combinations:
- Plant marigolds near your vegetables to repel harmful nematodes and aphids through their natural compounds.
- Grow basil alongside tomatoes to enhance their flavor while keeping whiteflies and mosquitoes at bay.
- Implement the "Three Sisters" method by combining corn, beans, and squash for mutual support and pest resistance.
This natural approach not only protects your plants from unwanted pests but also creates a thriving ecosystem in your garden, promoting biodiversity and sustainable growth.
Essential Oil Pest Control
Looking for a gentle yet effective way to combat garden pests? Essential oils offer a natural solution that won't harm your plants or cause them to have brown, damaged leaves. When properly diluted, these powerful plant extracts create a protective barrier that deters unwanted insects while attracting beneficial ones.
| Oil Type | Dilution Ratio | Target Pests | Benefits |
|---|---|---|---|
| Neem | 1:10 with water | Aphids, Mites | Long-lasting protection |
| Peppermint | 1:15 with carrier oil | Ants, Beetles | Fresh scent, quick action |
| Rosemary | 1:12 with water | Flies, Moths | Attracts helpful insects |
| Thyme | 1:15 with carrier oil | Caterpillars | Strengthens plant defense |
For best results, combine your essential oil treatment with other organic methods like insecticidal soap. Remember to test your diluted solution on a small leaf area first to verify plant safety.
Environmental Control Methods for Optimal Growth
When growing indoor plants, maintaining precise environmental conditions can make the difference between crispy, damaged leaves and lush, healthy foliage.
Your plants need humidity levels between 40-60% to prevent brown edges and maintain their tropical nature. You'll want to keep temperatures below 80°F while ensuring proper air circulation to avoid heat stress.
Tropical plants thrive in environments that mimic their native habitats – moderate humidity and temperatures with gentle air movement.
Here's how you can create the perfect environment for your plants:
- Use a humidifier or regularly mist your plants to increase moisture in the air.
- Place plants in naturally humid spaces like kitchens or bathrooms.
- Install small fans to maintain consistent air movement and prevent humidity-related issues.
Frequently Asked Questions
How Do You Fix Crispy Plant Leaves?
You'll need to increase humidity with a humidifier, mist regularly, guarantee proper watering, adjust lighting to prevent sunburn, remove dead leaves, and use distilled water instead of tap water for your plants.
Can a Plant Come Back From Crunchy Leaves?
Yes, your plant can recover from crunchy leaves if you act quickly. Remove damaged leaves, adjust watering, increase humidity, and maintain proper care. Most plants will bounce back with consistent attention to their needs.
What Does It Mean When Plant Leaves Are Crispy?
When your plant's leaves are crispy, it's usually a sign that they're dehydrated or stressed. This can happen from low humidity, underwatering, too much direct sunlight, or natural aging of older leaves.
Should You Remove Crispy Leaves?
Yes, you should remove crispy leaves using clean, sharp scissors. It'll improve your plant's appearance and health by redirecting energy to healthy growth while preventing potential pest problems and disease spread.
In Summary
Keep your plants thriving by addressing crispy leaves right away. You'll want to maintain proper humidity, establish a consistent watering schedule, and guarantee balanced light exposure. Don't forget to check your soil quality and nutrient levels regularly. If you're following these care guidelines but still seeing issues, monitor for pests and adjust your plant's environment until you find the sweet spot for growth.


Leave a Reply