To root pothos like a pro, start by taking 4-6 inch cuttings with 3-4 nodes using clean, sharp scissors. You'll get fastest results through water propagation – simply place the cuttings in fresh water with nodes submerged and leaves above. Change the water every few days and expect roots within 2 weeks. Once roots reach 2-3 inches, transplant to well-draining soil. Master these basics, and you'll reveal even more propagation secrets.
Essential Tools and Materials for Pothos Propagation
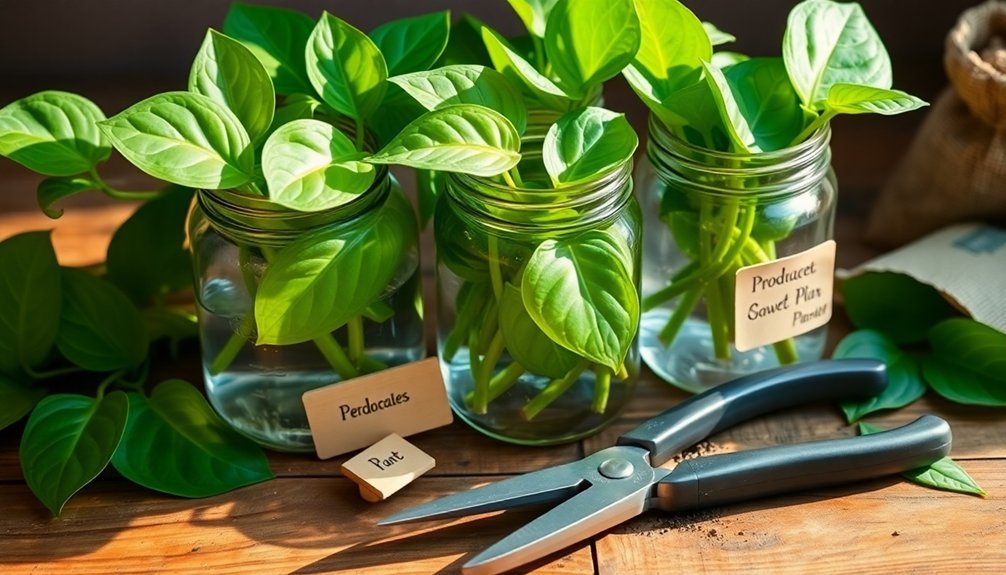
The key to successful pothos propagation lies in having the right tools and materials ready before you begin.
You'll need sharp pruning shears or scissors to make clean cuts that protect your plant from unnecessary stress and promote healthy growth.
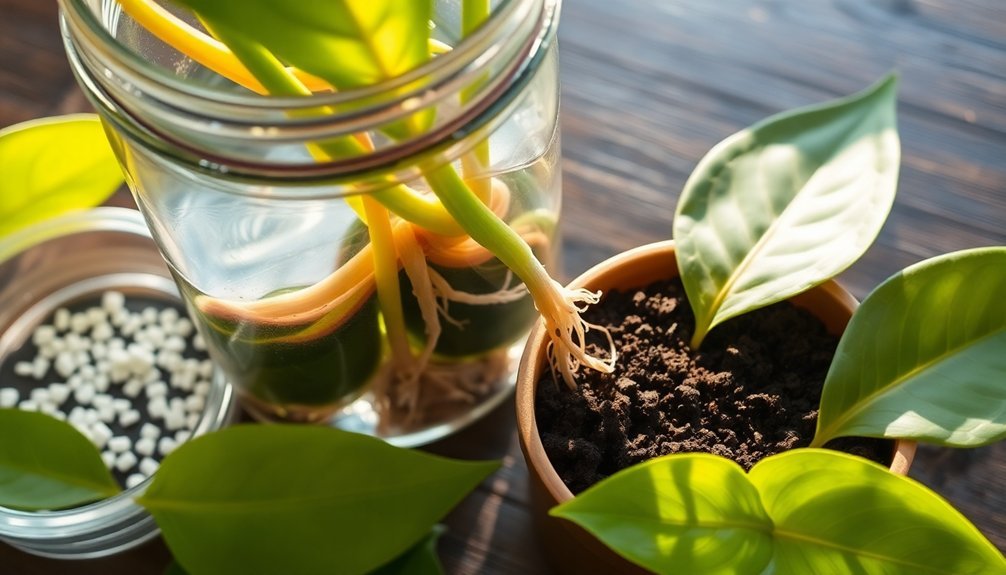
For water propagation, you'll want a clear container that keeps the stems submerged while leaves remain above water.
If you're going the soil route, gather well-draining potting soil and containers with proper drainage holes.
These essential tools guarantee your cuttings have the best environment for developing strong roots.
Consider adding rooting hormone to your toolkit – while optional, it can speed up the rooting process when propagating in soil.
With these materials on hand, you're fully equipped to start propagating your pothos like a professional.
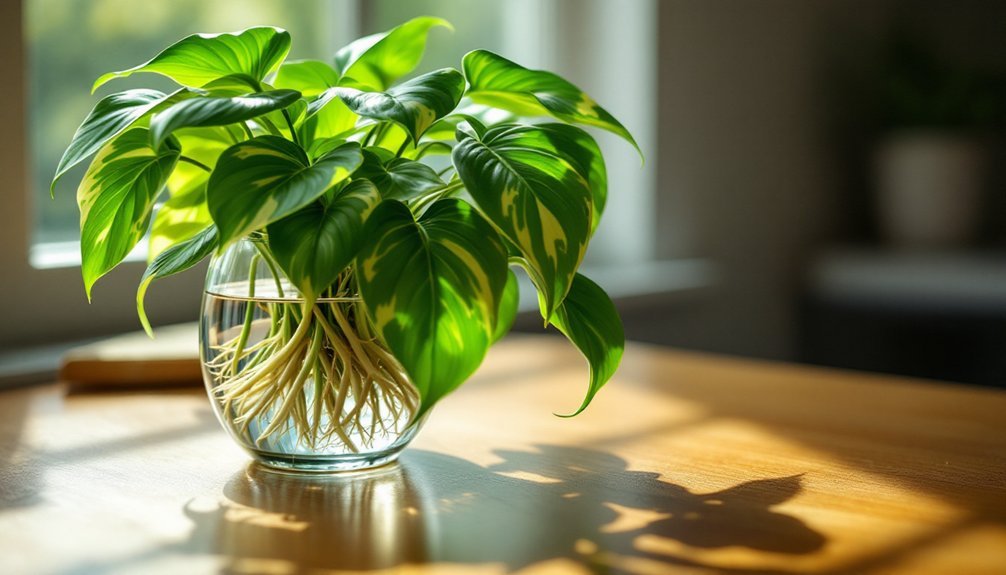
Water Propagation: The Fastest Route to Root Growth
When it comes to propagating pothos, water propagation stands out as the most popular and efficient method. You'll want to start by cutting a vine segment with 3-4 nodes and placing it in fresh water, making certain only the nodes are submerged while keeping the leaves above water.
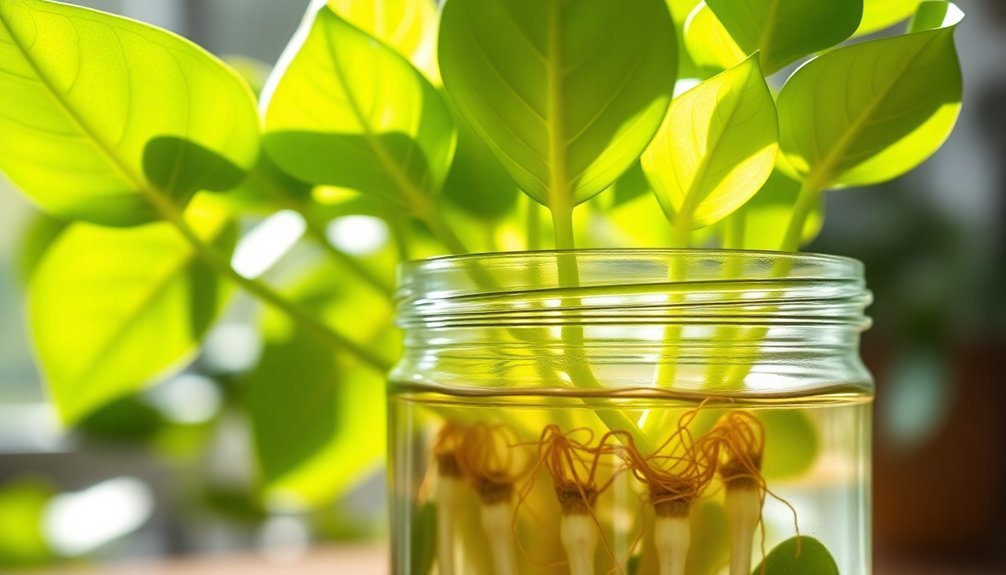
Root development typically begins within 10-14 days, making it easy to monitor your pothos cuttings' progress. Remember to change the water every few days to prevent harmful bacteria and maintain ideal growing conditions.
Once roots reach 2-3 inches in length, you can transfer your cuttings to soil. While pothos can grow indefinitely in water, it's best to move them to soil after roots develop to prevent adaptation difficulties later.
This straightforward process guarantees successful propagation with minimal effort.
Soil-Based Propagation Techniques and Tips
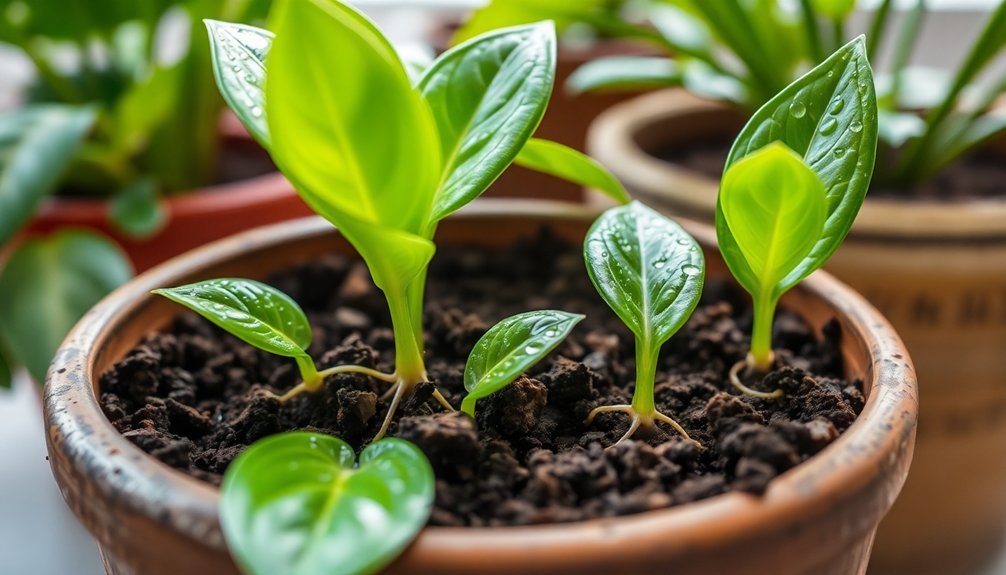
You'll want to start with well-draining potting soil in a clean container, ensuring proper aeration for your pothos cuttings to develop strong roots.
After selecting cuttings with multiple nodes, you can boost your success rate by applying rooting hormone to the cut ends before placing them in the prepared soil.
Keep the soil consistently damp but never waterlogged during the first few weeks, as proper moisture levels are essential for root development.
Soil Selection And Preparation
Successful pothos propagation starts with choosing the right soil mix and preparing it properly.
You'll need a well-draining potting mix that combines peat, perlite, and vermiculite to give your cuttings the perfect balance of air and moisture. This mixture guarantees your plant's roots can breathe while retaining just enough water for healthy growth.
Before planting your cuttings, moisten the potting soil lightly – it should feel damp but not waterlogged.
Select pots with drainage holes to prevent excess water from pooling, which can cause root rot. If you want to boost your success rate, try applying rooting hormone to the cut ends before placing them in the soil.
Position your newly planted cuttings where they'll receive bright, indirect light, and maintain consistent soil moisture as roots develop.
Rooting Hormone Application Steps
Rooting hormone gives your pothos cuttings a powerful head start in developing strong, healthy roots. To apply it correctly, dip the freshly cut end of your pothos stem into the rooting hormone powder, ensuring even coverage on the cut surface.
Before planting, create a hole in your well-draining soil using your finger or a pencil. This prevents the hormone from rubbing off when you insert the cutting.
Place the treated end carefully into the pre-made hole and gently firm the soil around it. Position your potted cutting in a spot with bright, indirect light to support its growth.
Remember to keep the soil moist but never waterlogged during the rooting process. Finding the right balance of moisture is essential – too much water can cause rot, while too little will slow down root development.
Moisture Management Essentials
Maintaining proper moisture levels stands as the cornerstone of successful pothos propagation in soil.
You'll need well-draining potting soil and a container with drainage holes to prevent water from pooling around the roots, which can cause rot.
Keep your soil moist but never waterlogged by checking the top inch regularly. When it feels dry, it's time to water. You'll typically need to water every few days, but this can vary based on your environment.
For best results, create a mini greenhouse effect by placing a clear plastic dome or bag over your cuttings during the first few weeks.
Watch your plants closely for signs they're not getting the right amount of moisture – wilting or yellowing leaves are warning signs that you'll need to adjust your watering routine.
Selecting the Perfect Pothos Cuttings
When you're ready to propagate your pothos, choosing the right cuttings can make all the difference between success and failure. Select sections that are 4 to 6 inches long with 3 to 4 healthy nodes to guarantee strong propagation potential.
You'll want to make clean cuts just below these nodes using sharp, sanitized scissors, as this is where your new roots will emerge.
For the best results in your pothos propagation, follow these essential guidelines:
- Take cuttings during spring or summer when your plant is actively growing
- Look for vibrant green leaves without yellowing or damage
- Make precise cuts with clean tools to prevent disease transmission
Remember to examine each cutting carefully before propagating, confirming it has multiple nodes and healthy foliage. This attention to detail will greatly boost your success rate.
Caring for Your Newly Rooted Cuttings
Keep your newly rooted pothos cuttings in bright, indirect light and establish a consistent watering schedule, checking the top inch of soil every other day.
You'll need to water thoroughly when transplanting but stay alert for signs of overwatering like yellowing leaves or mushy stems that could lead to root rot.
Hold off on fertilizing for the first month, then introduce a diluted water-soluble fertilizer to support your growing plants.
Monitor Light and Water
Since your newly rooted pothos cuttings require special attention during their initial growth phase, proper light and water management becomes essential for their success.
To monitor light conditions, place your cuttings in bright, indirect sunlight to promote healthy growth and prevent leggy stems. You'll need to keep the soil evenly moist during the first few weeks, but avoid waterlogged conditions that can lead to root rot.
Here's what you need to watch for:
- Water every few days, allowing the top inch of soil to dry between waterings
- Check for signs of wilting or yellowing leaves, which indicate watering issues
- Wait several weeks before applying any fertilizer, ensuring roots are well-established first
Following these guidelines will help your pothos cuttings develop into healthy, thriving plants.
Prevent Disease After Transplant
After successfully rooting your pothos cuttings, protecting them from disease becomes critical during the post-transplant period. You'll need to maintain ideal conditions while your plant establishes itself in its new home. Keep the soil moist but never waterlogged to prevent root rot, and place your cuttings in bright, indirect light.
| Prevention Step | Timing | Key Action |
|---|---|---|
| Water Control | First 2 weeks | Keep soil moist, not soggy |
| Light Management | Immediately | Provide bright, indirect light |
| Pest Inspection | Weekly | Check leaves and stems |
| Fertilizer Hold | 4-6 weeks | Delay nutrient addition |
Monitor your newly transplanted cuttings daily for signs of stress or disease. Yellow leaves often indicate overwatering, while pests can attack vulnerable plants. Remember to hold off on fertilizing until your pothos has fully established its root system.
Common Rooting Problems and Solutions
While propagating pothos is generally straightforward, you'll likely encounter a few common challenges along the way. Understanding these common rooting problems and their solutions will help guarantee your propagation success.
Here are the main issues you'll need to watch for:
- Root rot from overwatering – Use well-draining soil and allow it to dry slightly between waterings.
- Yellowing leaves due to insufficient light – Place cuttings in bright, indirect light and adjust position as needed.
- Failed rooting in stagnant water – Replace water regularly in clean containers to prevent bacterial growth.
If you're moving cuttings from water to soil, remember to change them gradually. This prevents shock and promotes better root development.
Watch for leggy growth, which signals your cuttings need more light to develop strong, healthy stems.
Best Practices for Transplanting Rooted Cuttings
Once your pothos cuttings have developed strong roots, you'll need to carefully move them to their permanent soil home.
Before transplanting rooted cuttings, check that the roots are 2-3 inches long to guarantee successful establishment.
Choose a container with drainage holes and fill it with well-draining soil to prevent waterlogging.
When placing your cutting, make sure the roots are fully covered and the soil makes good contact with them.
Water thoroughly right after planting to help the soil settle around the root system.
Position your newly transplanted pothos in a spot with bright, indirect light.
You'll want to maintain consistent soil moisture for the first couple of weeks while your plant adjusts to its new environment.
This careful attention during the movement period will help assure your pothos thrives.
Frequently Asked Questions
What Is the Fastest Way to Root Pothos?
You'll get the fastest pothos roots through water propagation. Place cuttings with 3-4 nodes in clean water under bright, indirect light. You'll see roots forming in about 10 days with regular water changes.
How Do You Encourage Root Growth in Pothos?
You'll encourage pothos root growth by cutting stems with multiple nodes, applying rooting hormone, maintaining consistent moisture, providing bright indirect light, and changing water regularly when propagating in water.
Is It Better to Propagate Pothos in Water or Dirt?
You'll find success with either method. Water propagation lets you easily monitor root growth and works faster, while soil propagation's more reliable long-term. Choose water if you're a beginner, soil if you're experienced.
Can You Put Pothos Cuttings Directly Into Soil?
Yes, you can put pothos cuttings directly into soil. Just make certain you've got nodes buried, use rooting hormone, and keep the soil moist. It'll take longer than water propagation but creates stronger roots.
In Summary
You're now equipped with pro-level techniques to root your pothos quickly and successfully. Whether you've chosen water or soil propagation, remember to maintain ideal conditions and watch for signs of growth. Don't get discouraged if your first attempt isn't perfect – propagation gets easier with practice. Keep these methods handy, and you'll be multiplying your pothos collection in no time.


Leave a Reply